AI Product Image Generator Workflow
For teams using an AI product image generator without wanting to improvise every prompt: turn a source photo into controlled outputs by defining the image job and review gate first. Follow the input, pilot, review, and publishing gates before scaling.
- One clear source
- Review before publishing
- No credit card required
How it works
AI Product Image Generator Workflow
a clean product image, one output goal, visual direction, target crop, and a do-not-change checklist. The first batch is a pilot, not an automatic approval.
-
Step 1
Prepare the product input
Use the clearest available image and document the details the generator must preserve.
-
Step 2
Choose one output job
Generate for a specific purpose such as a clean hero, lifestyle scene, model context, or campaign crop.
-
Step 3
Compare a focused batch
Review meaningful variations instead of creating an uncontrolled volume of near-duplicates.
-
Step 4
Approve before reuse
Save the direction only after product accuracy and channel fit have been checked.
Workflow outputs
Inspect the set, not only the strongest image.
a focused batch of product-first variations that can be approved, revised, or rejected before export. Review the full set for consistency, missing assets, and exceptions.
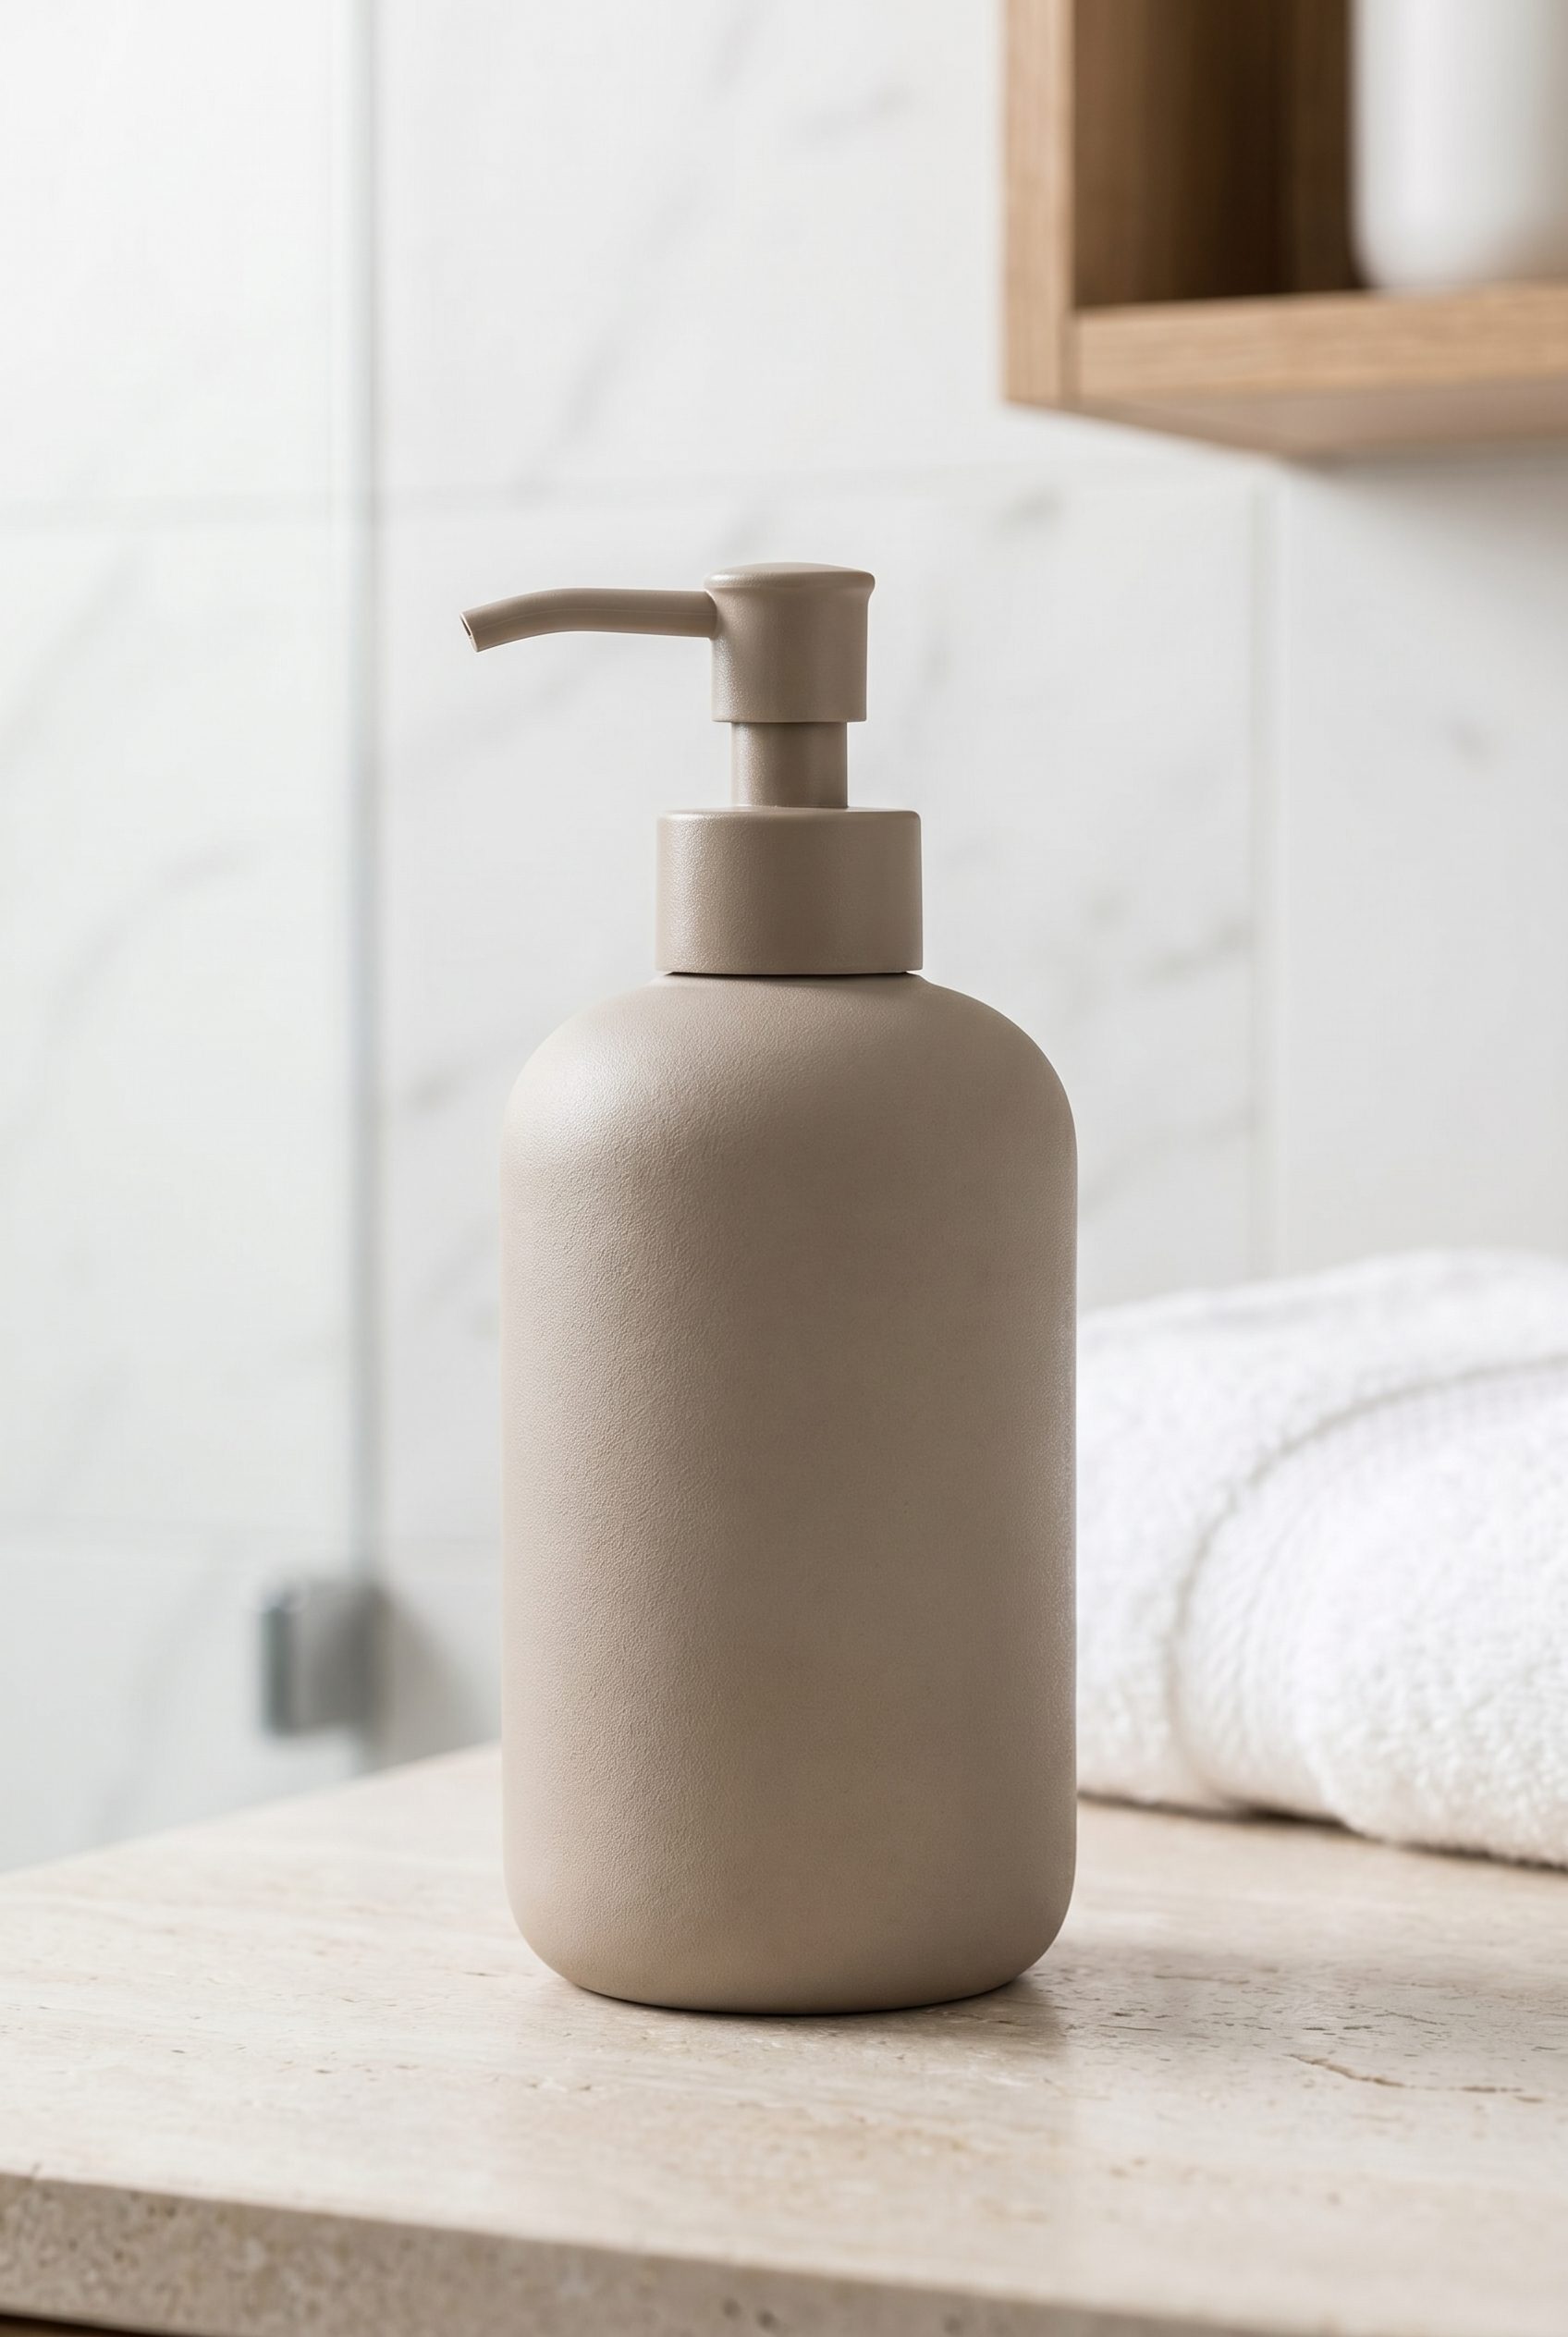
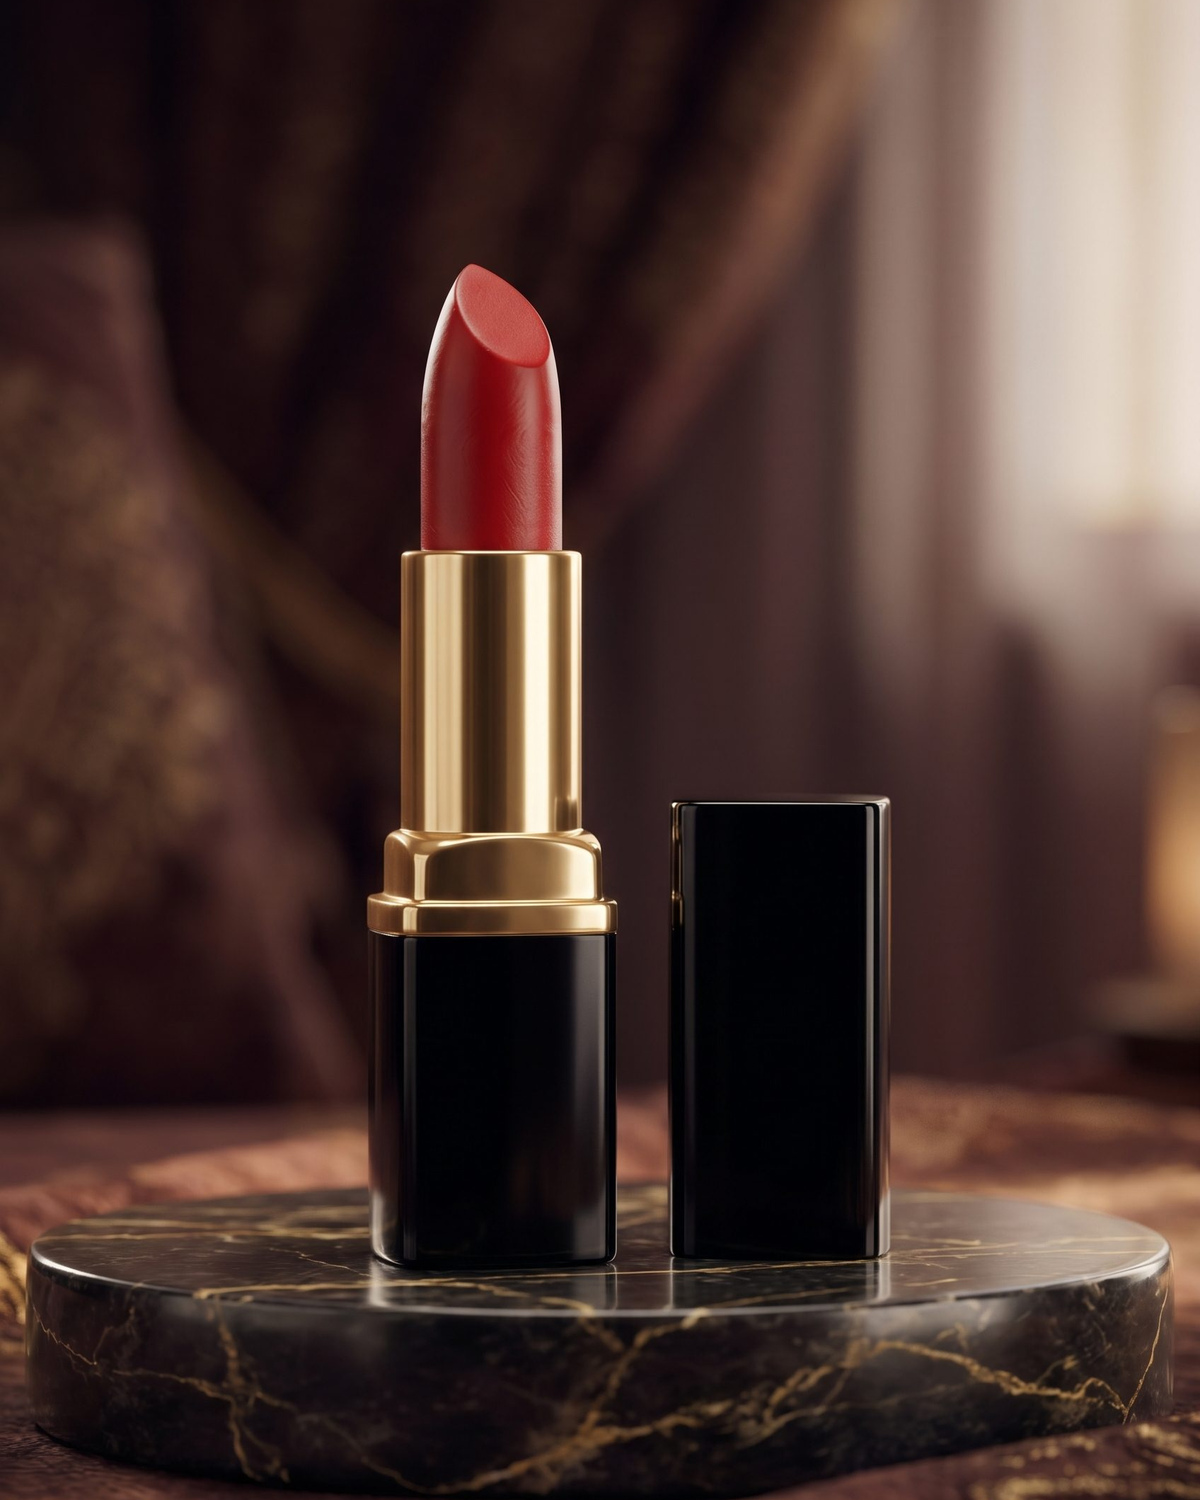
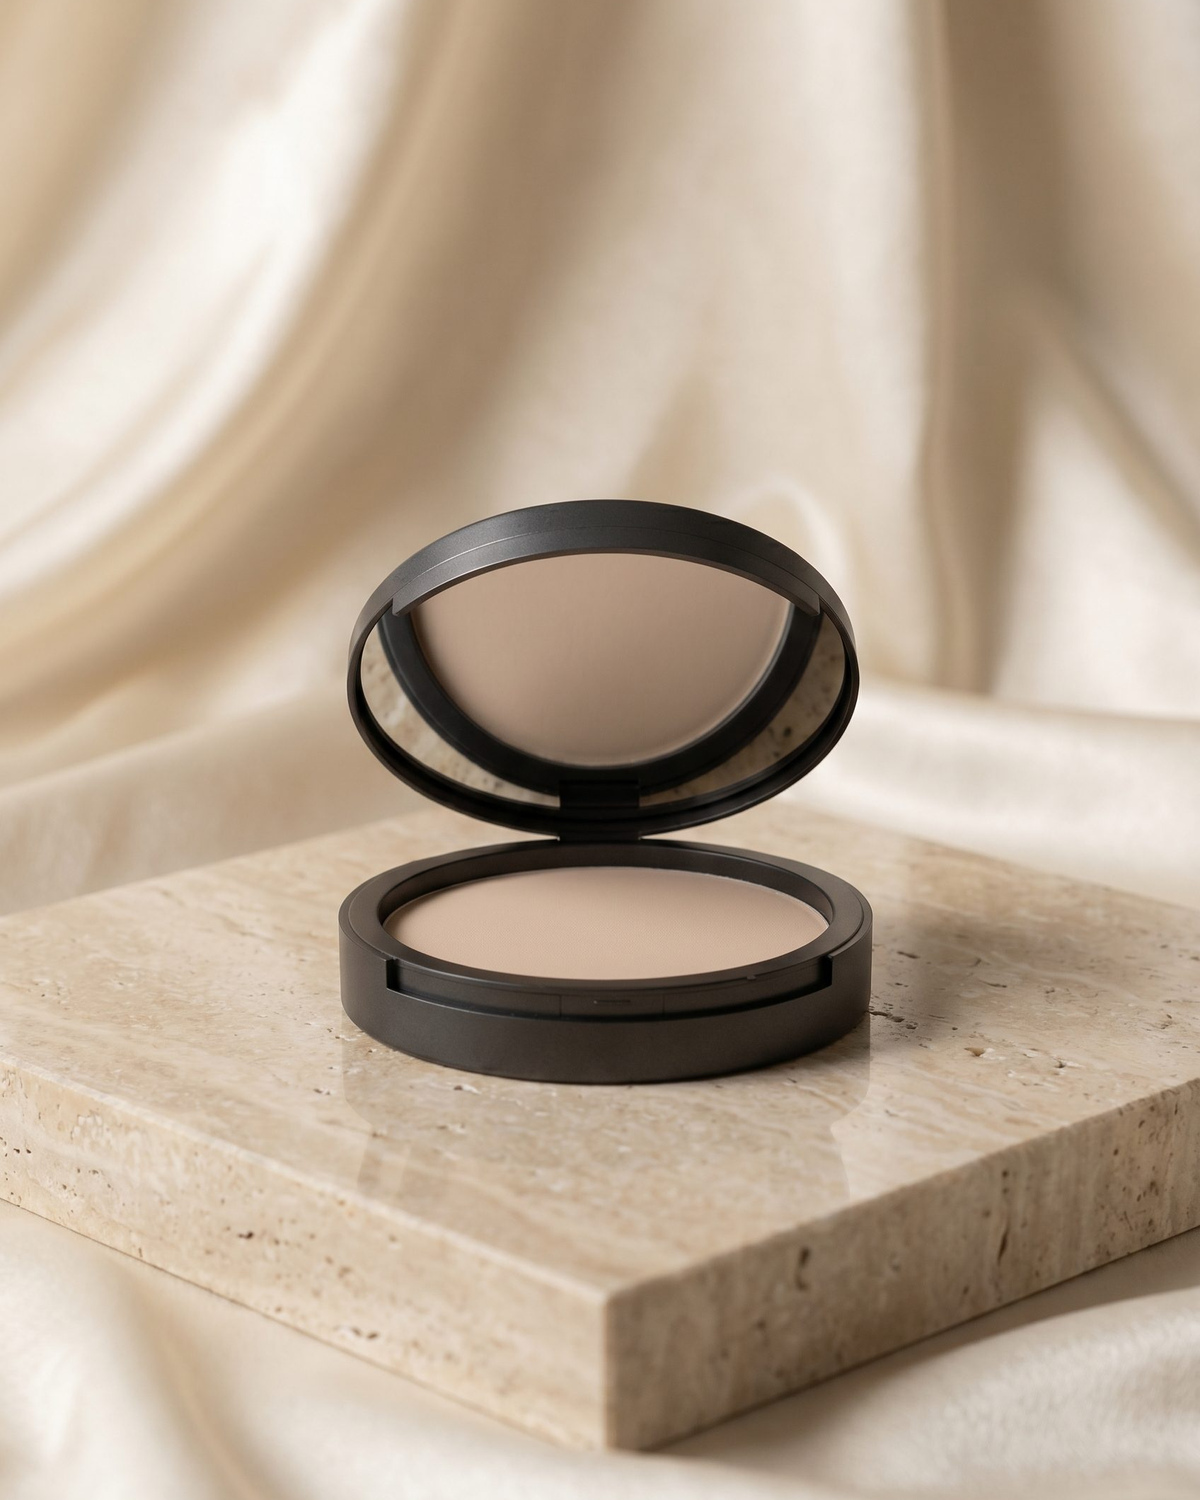
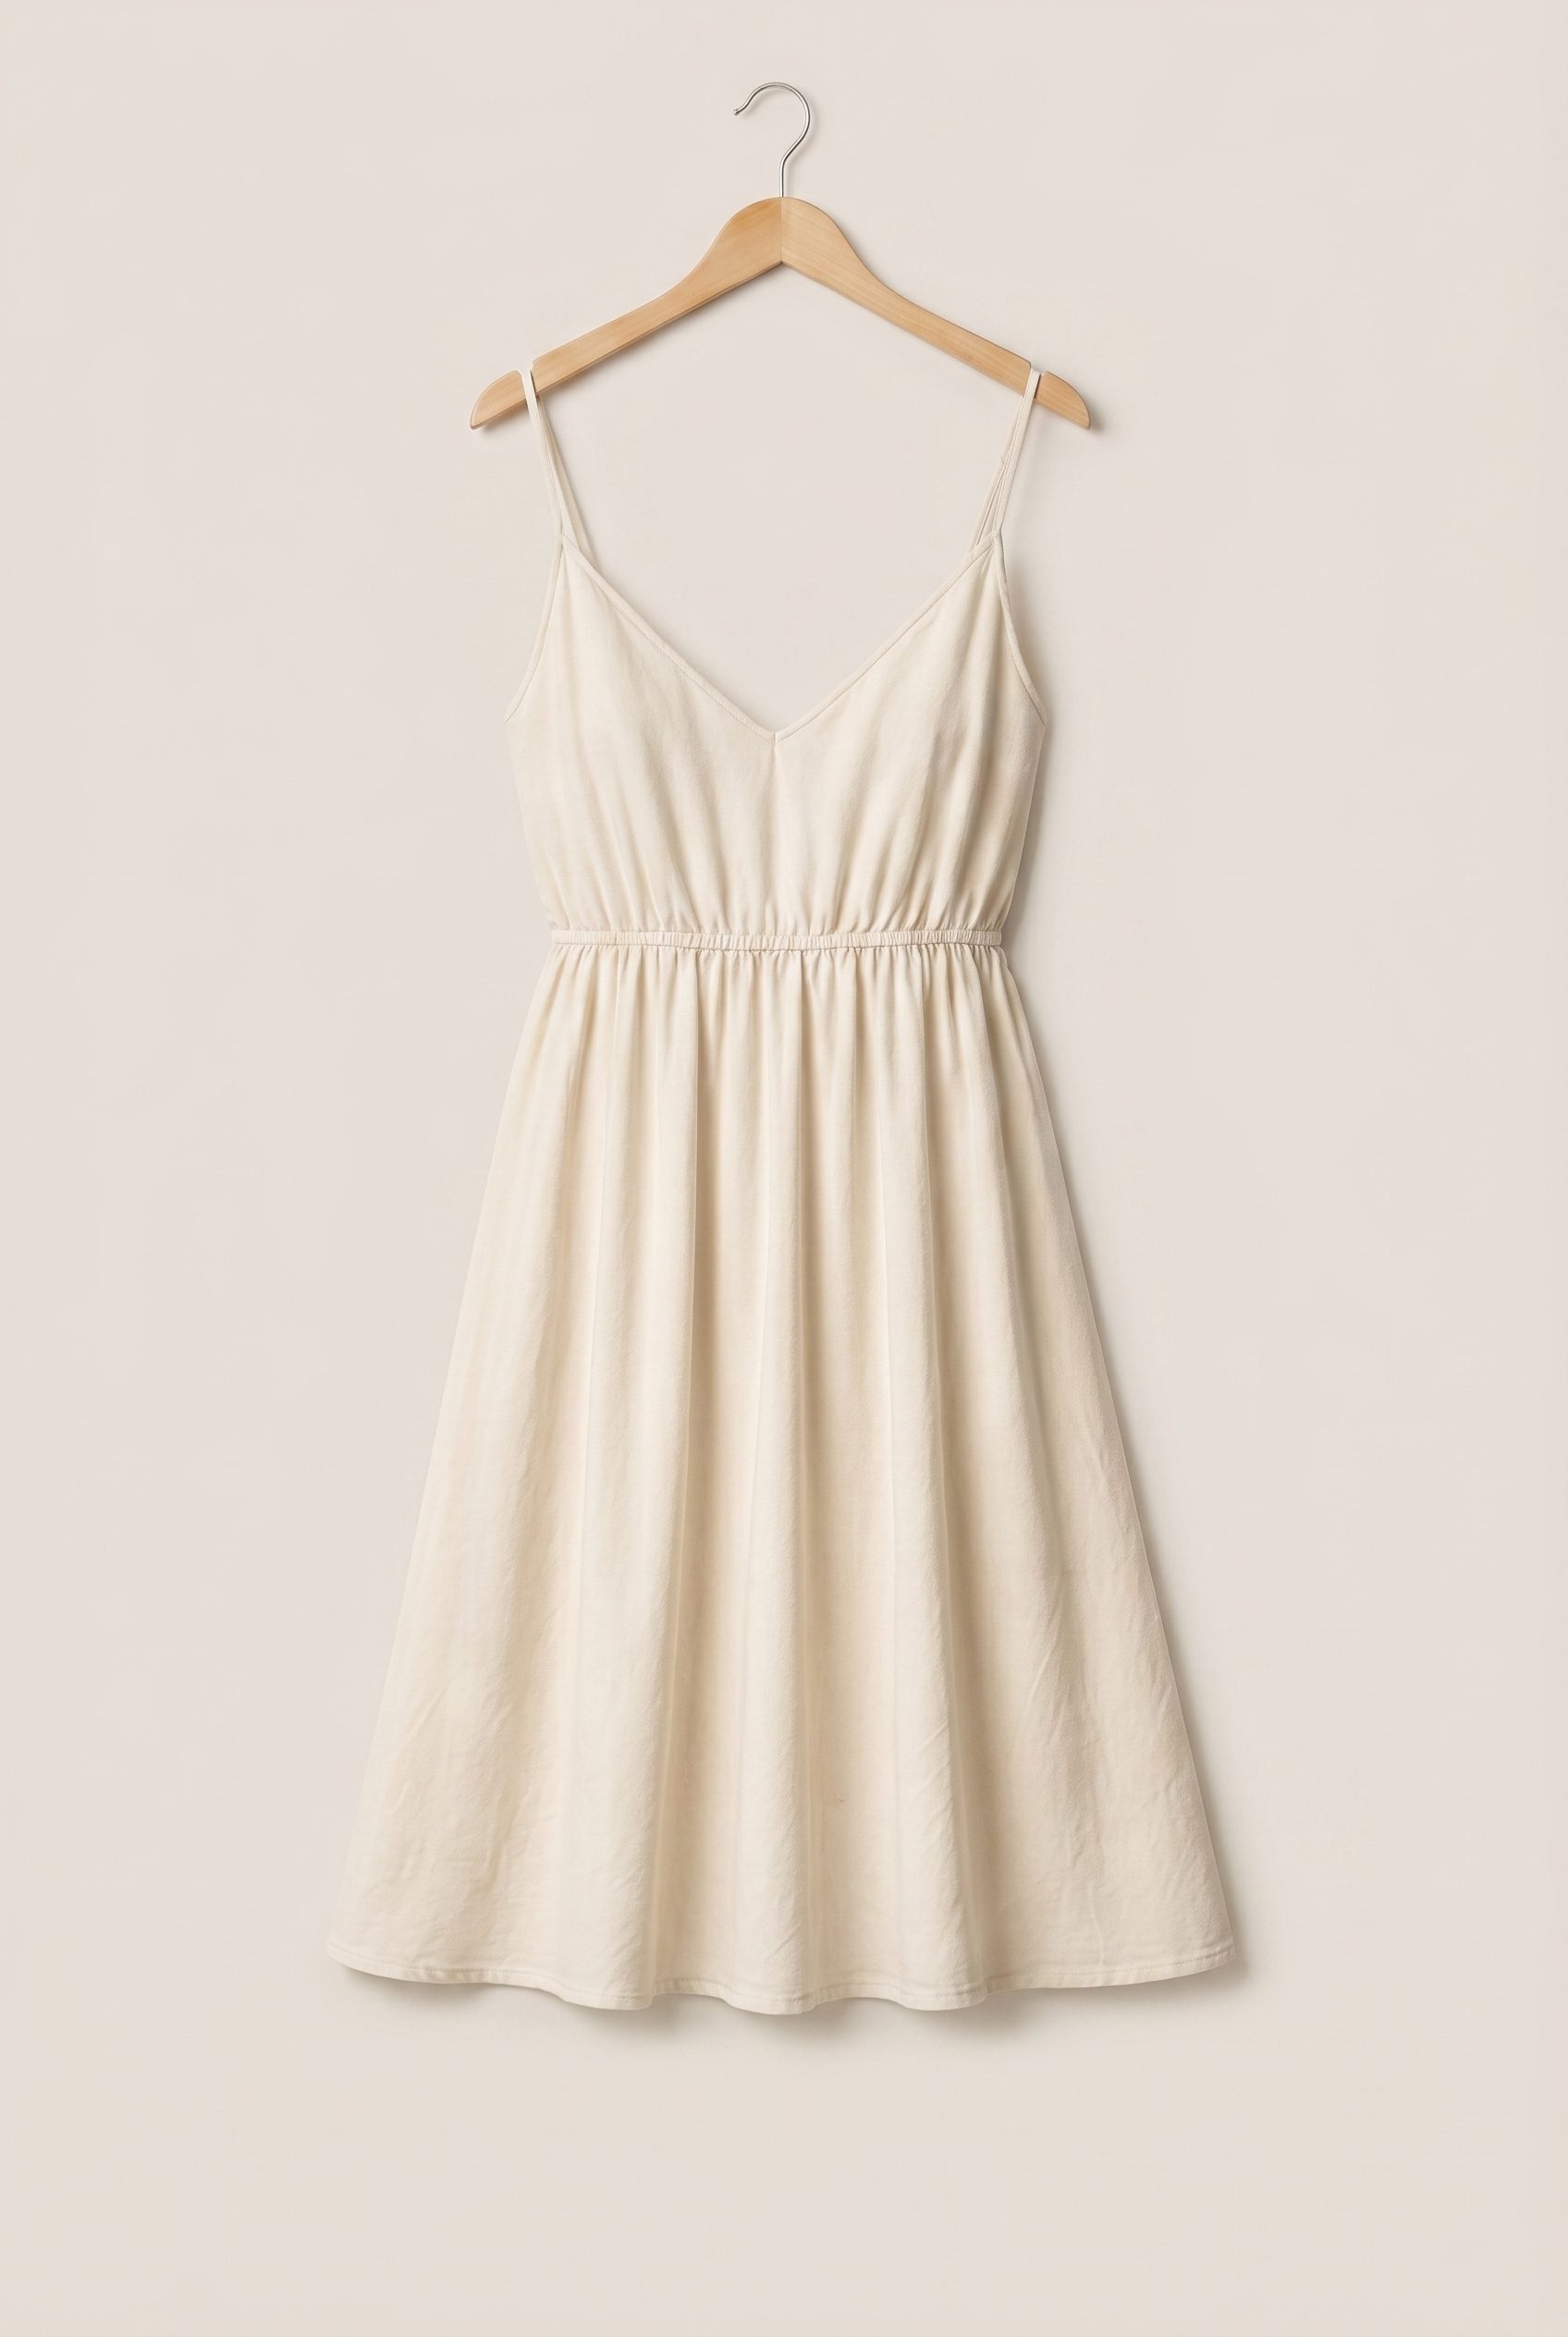
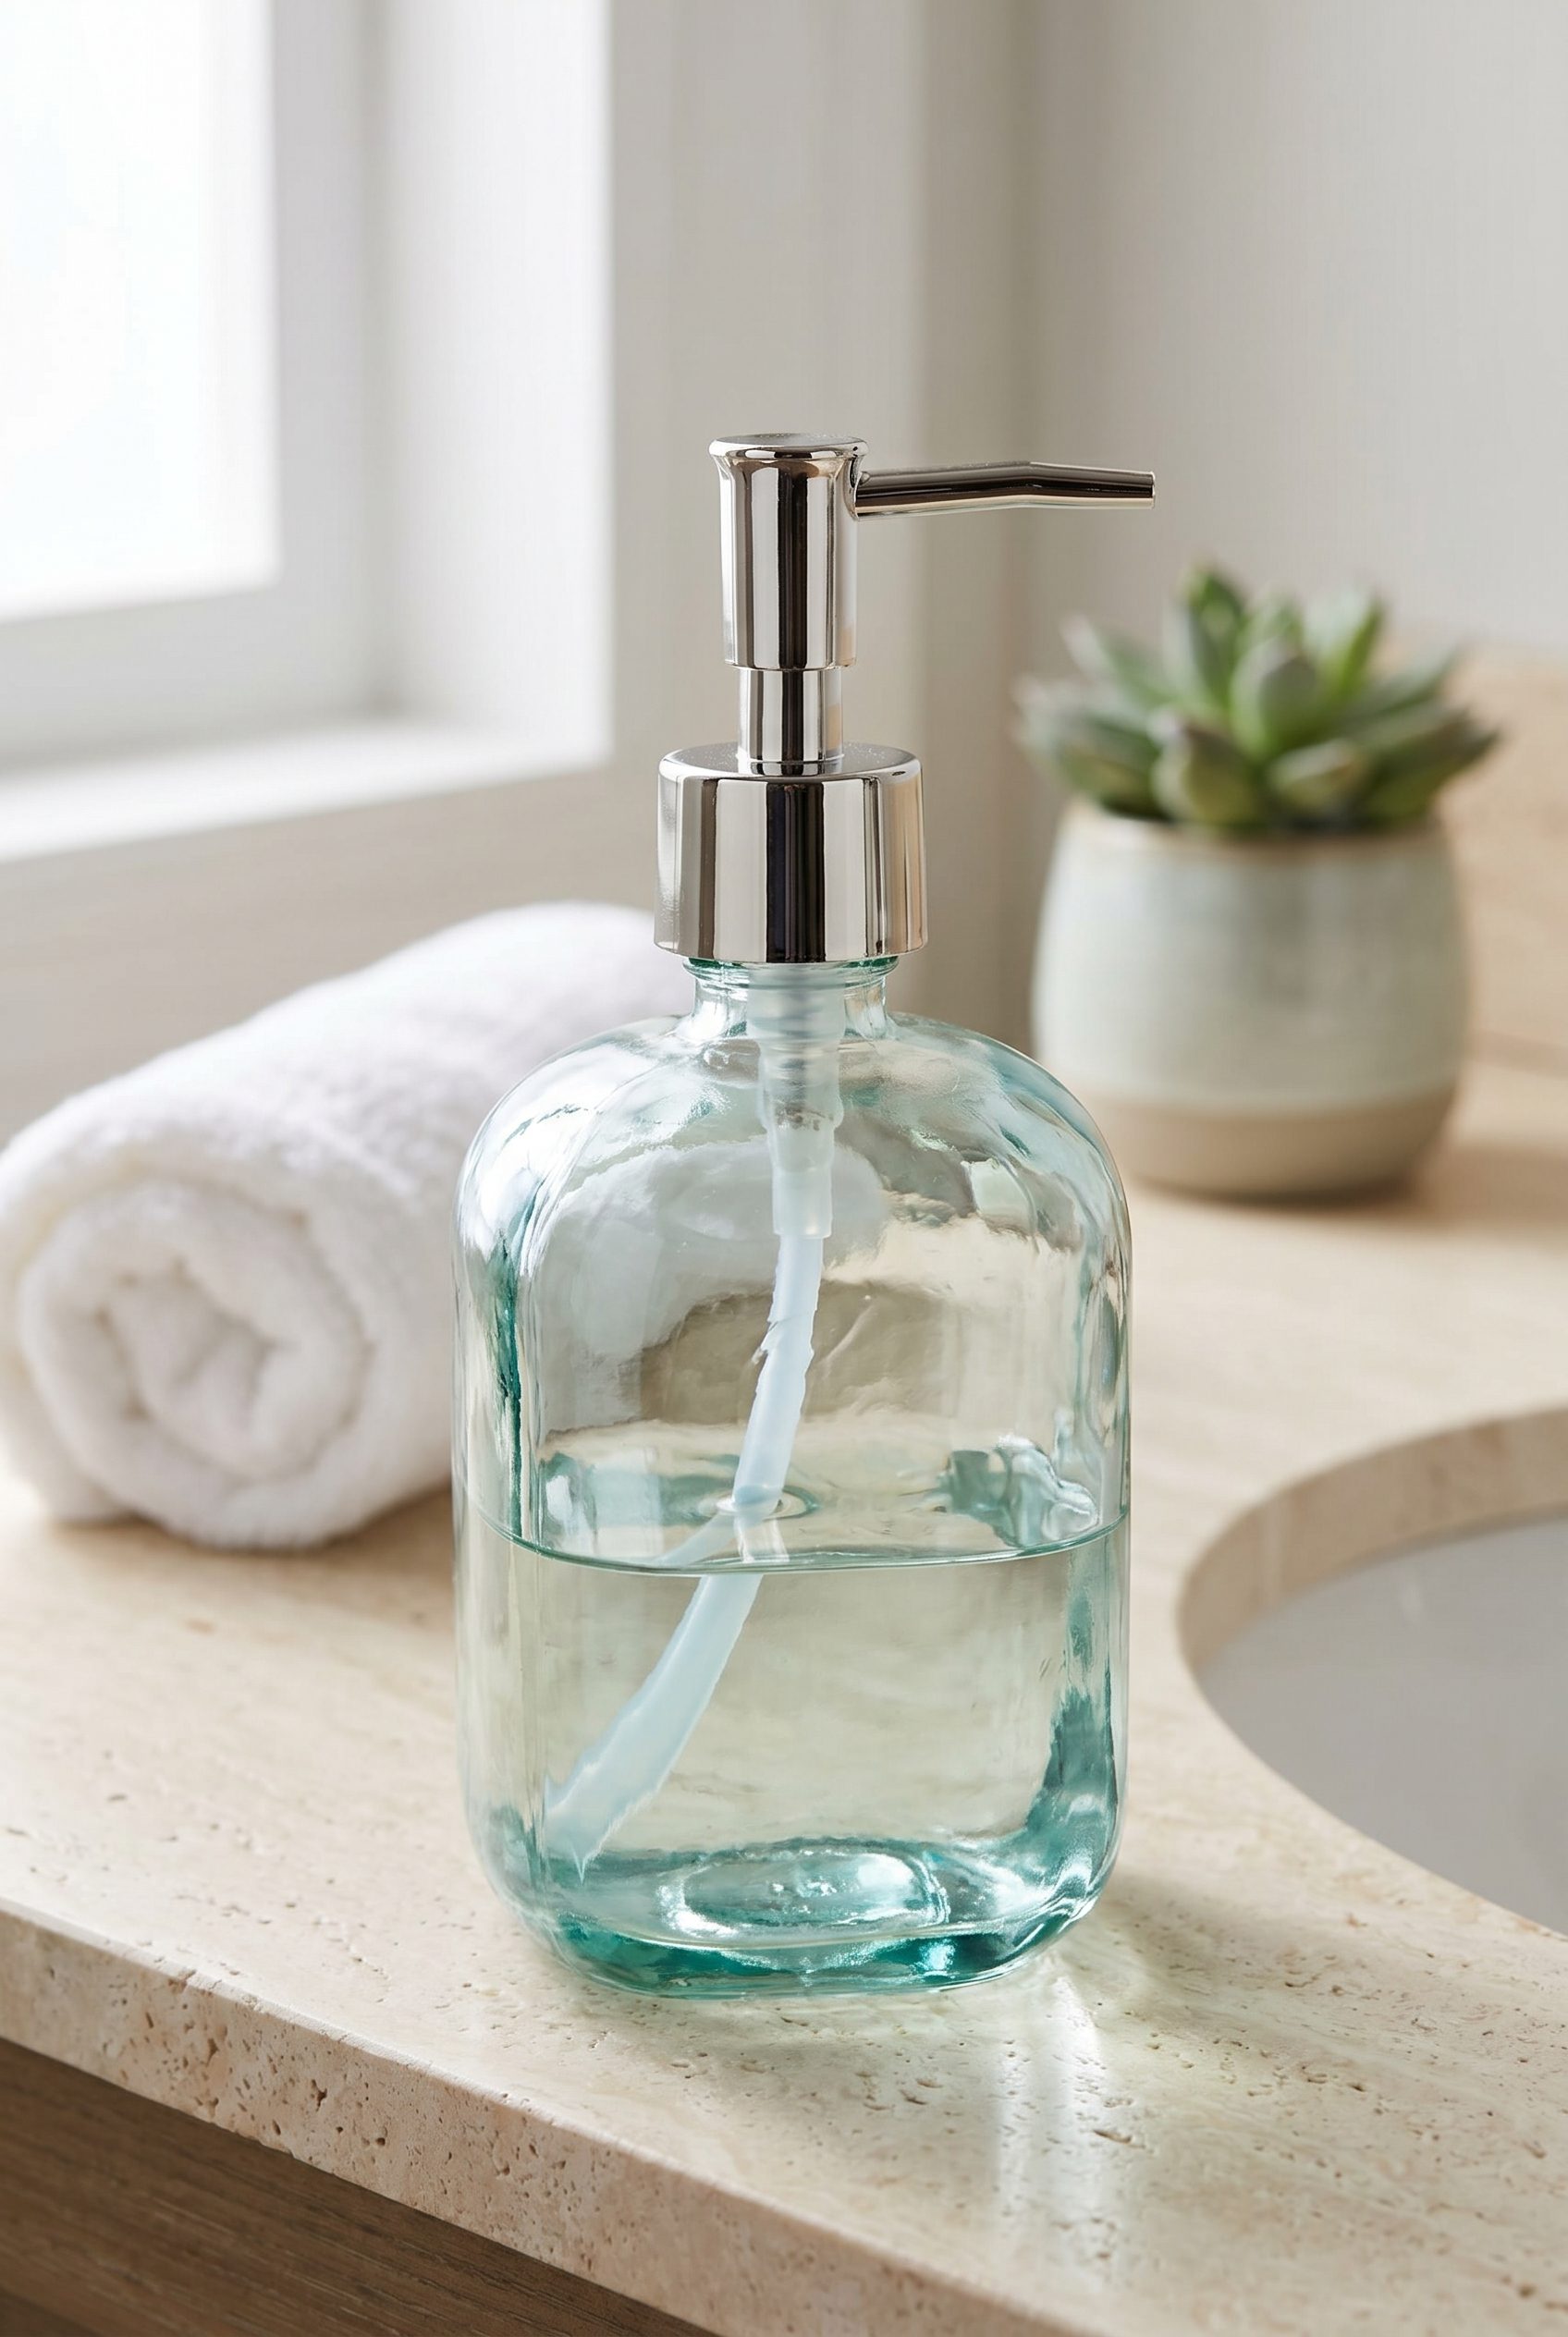



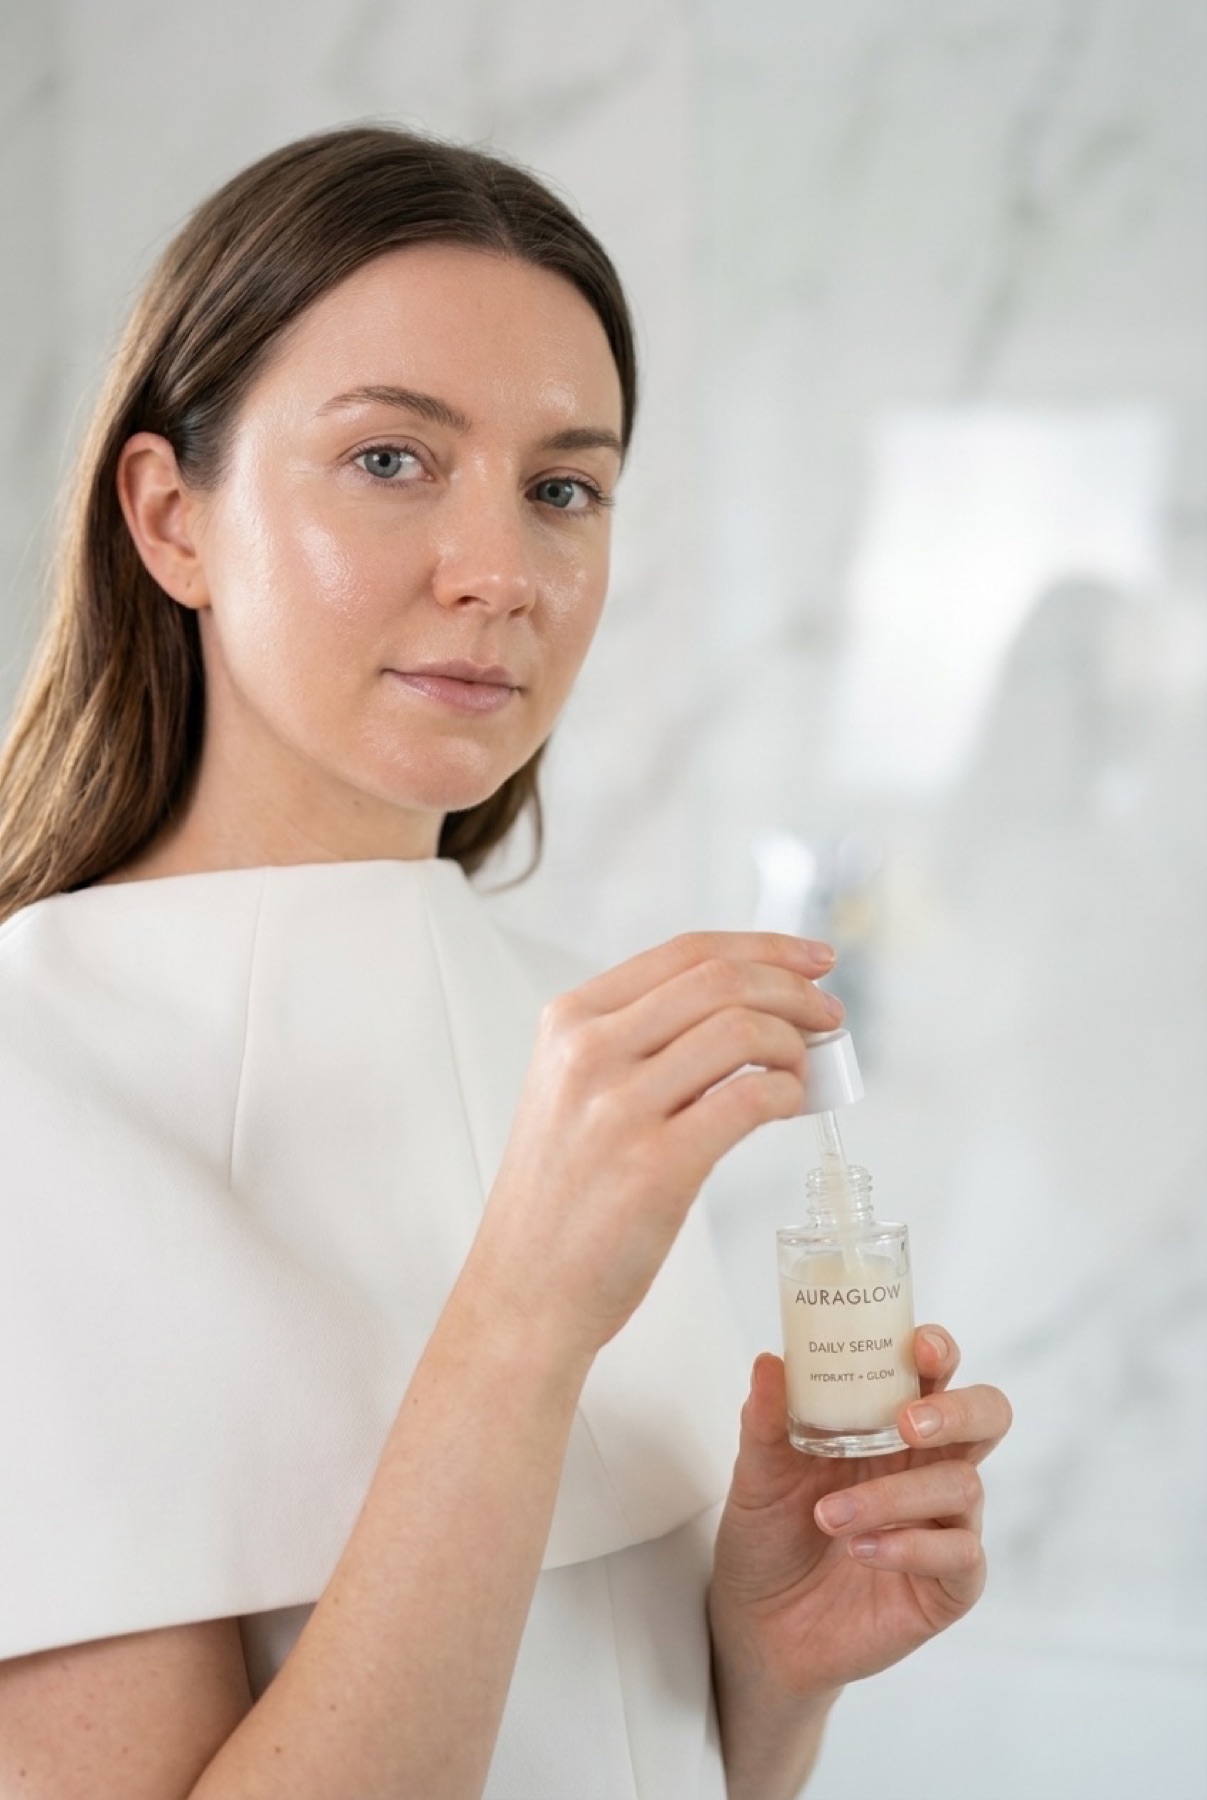


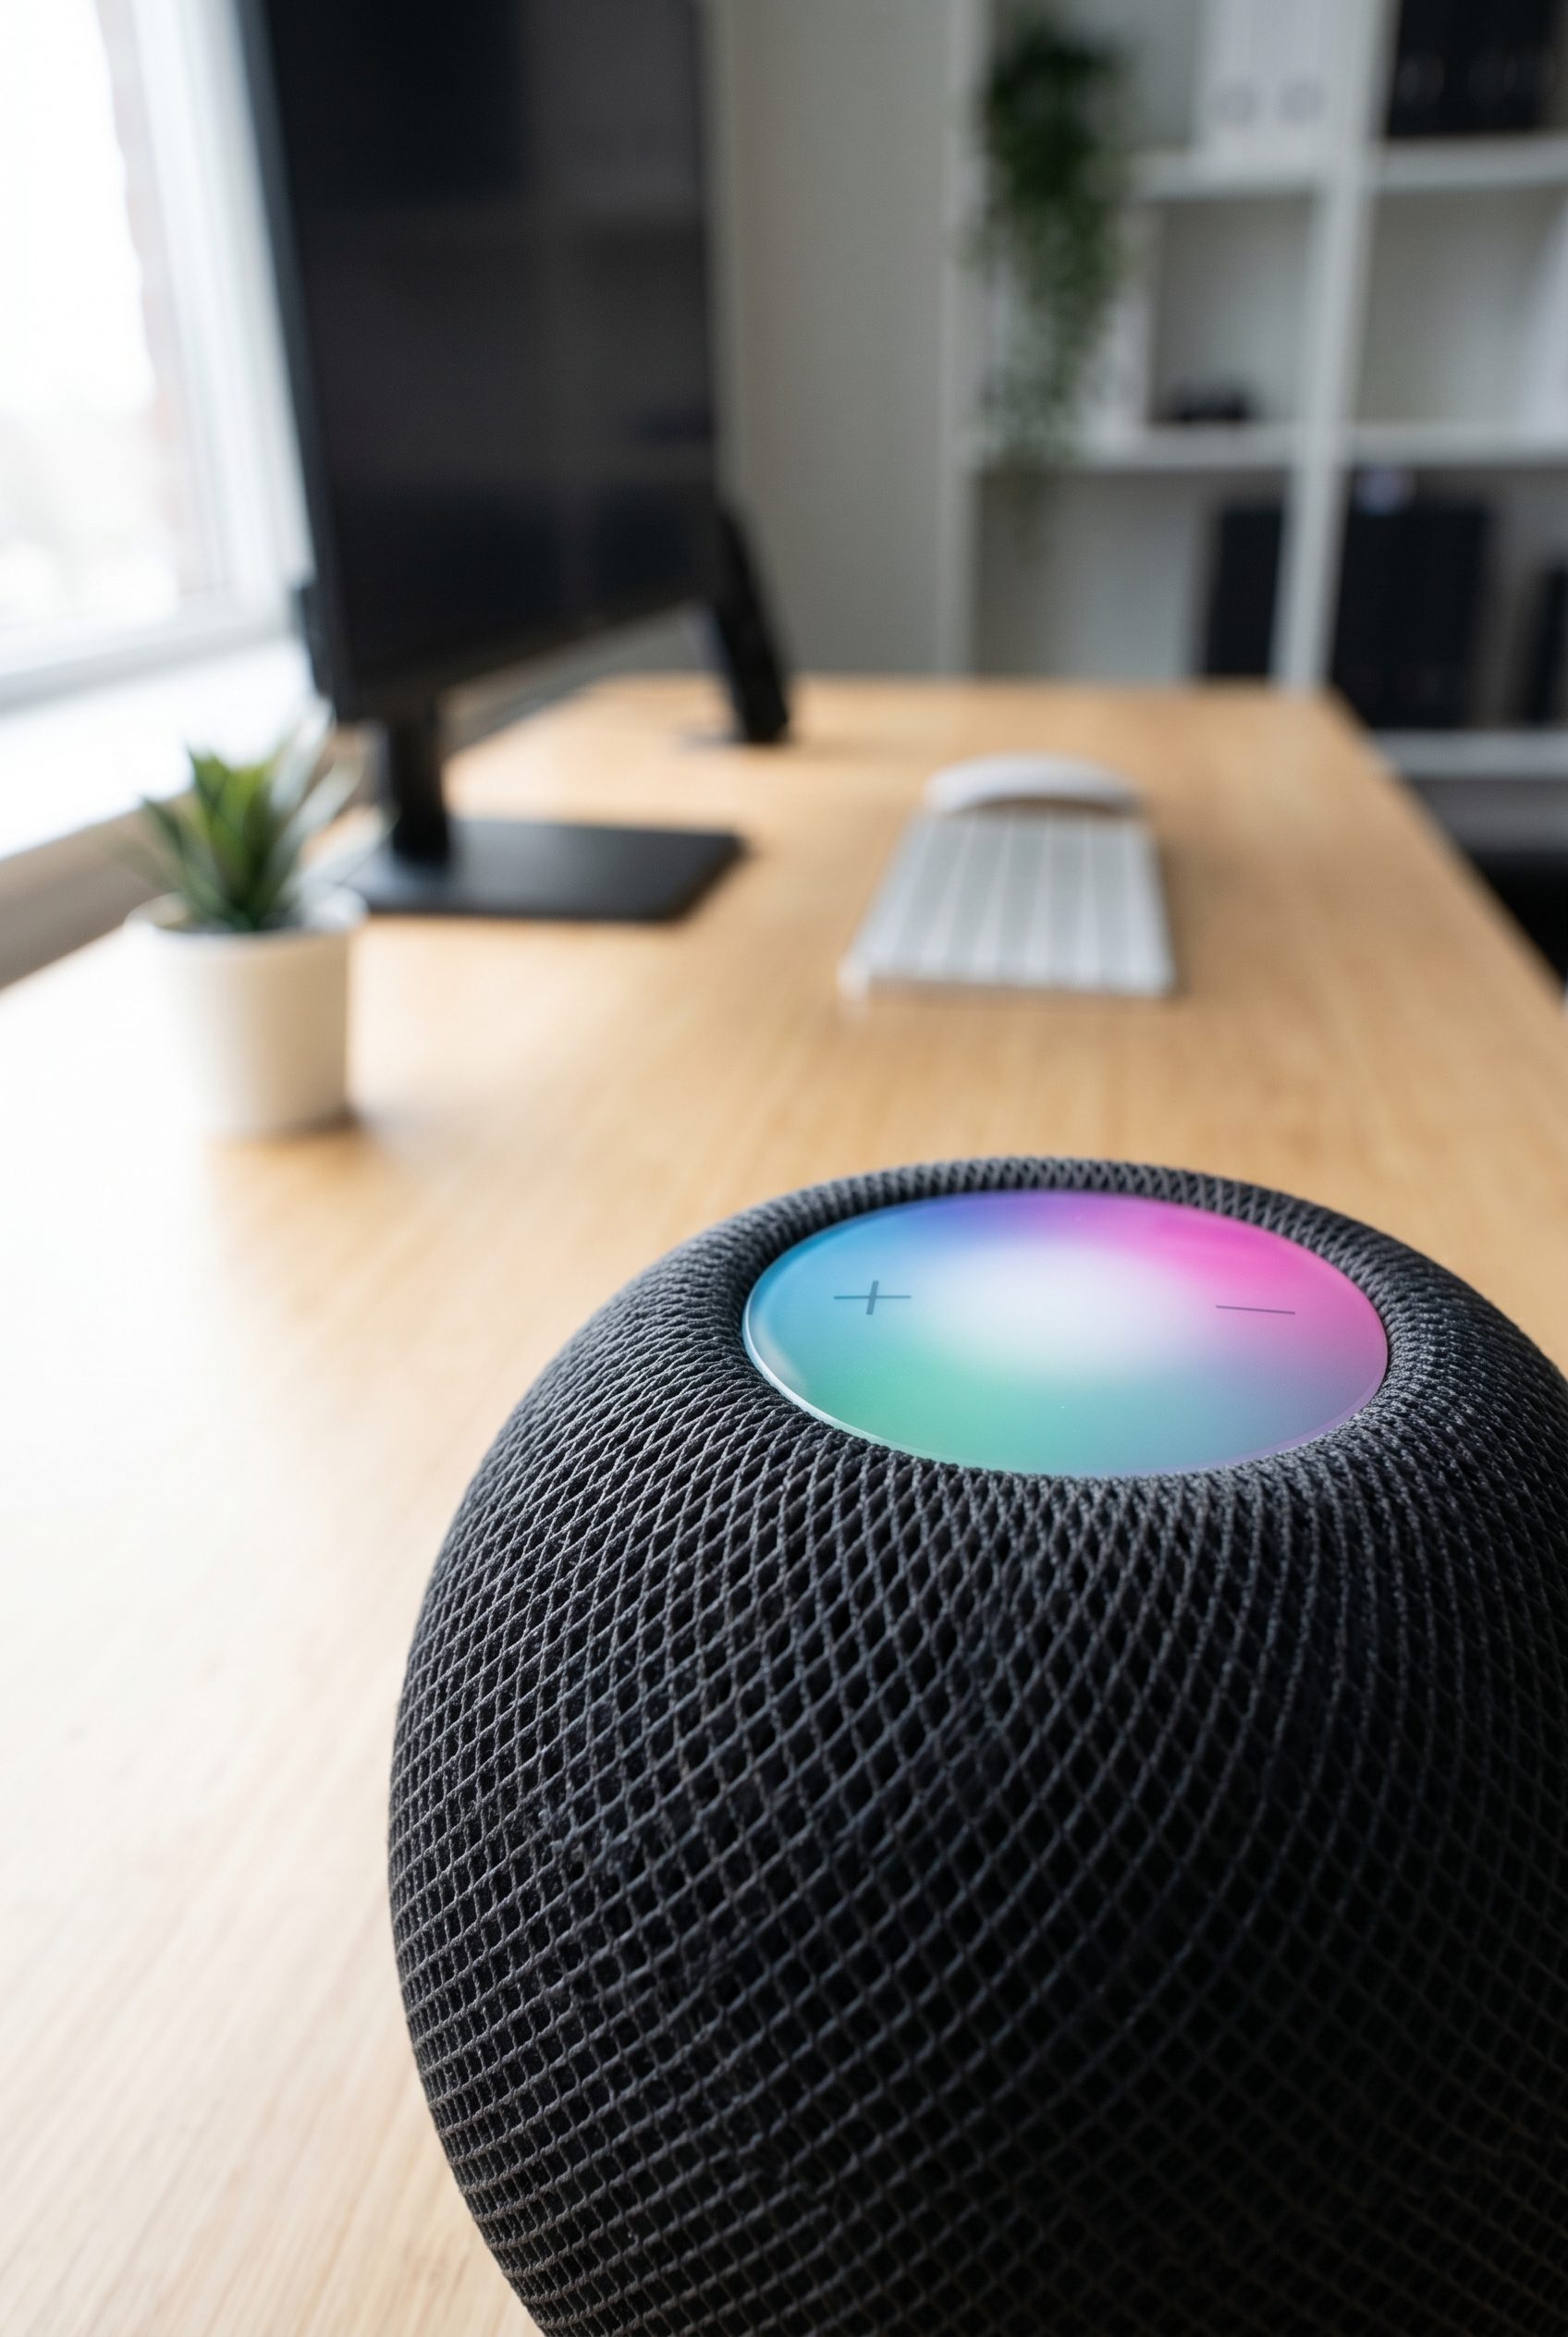

Choose the next surface
Choose your next workflow.
Find the product tool, category, or use case that matches what you want to create.
Planning and review
AI Product Image Generator Workflow FAQs
It is for teams using an AI product image generator without wanting to improvise every prompt.
Test the workflow
Test this workflow on one product before scaling it.
Start with a clean product image, one output goal, visual direction, target crop, and a do-not-change checklist. Generate a focused pilot and publish only after checking shape, material, labels, color, small details, shadows, scale, crop, scene logic, and intended channel.
- Use your own product
- Review every output
- No credit card required