WordPress Product Image Workflow
Plan a WooCommerce image workflow that keeps product detail clear, fits the active theme’s crop settings, and lets the store team review each generated image before applying it.
- Examples
- Workflow
- Ecommerce-ready
How it works
From source product to publish-ready outputs.
Use these steps as the working brief before creating product visuals in Fotogenic AI.
-
Step 1
Start with the cleanest product input
Choose a product photo where shape, material, and key details are clear enough to guide the generation.
-
Step 2
Pick the channel and visual direction
Decide whether the output is for a PDP, catalog, ad, social post, marketplace image, or launch campaign.
-
Step 3
Generate a focused first batch
Create several controlled variations, then keep the strongest lighting, crop, and scene direction.
-
Step 4
Scale the approved look
Reuse the direction across more products, variants, and campaign formats once the first set is approved.
Visual examples
Example outputs this workflow can support.
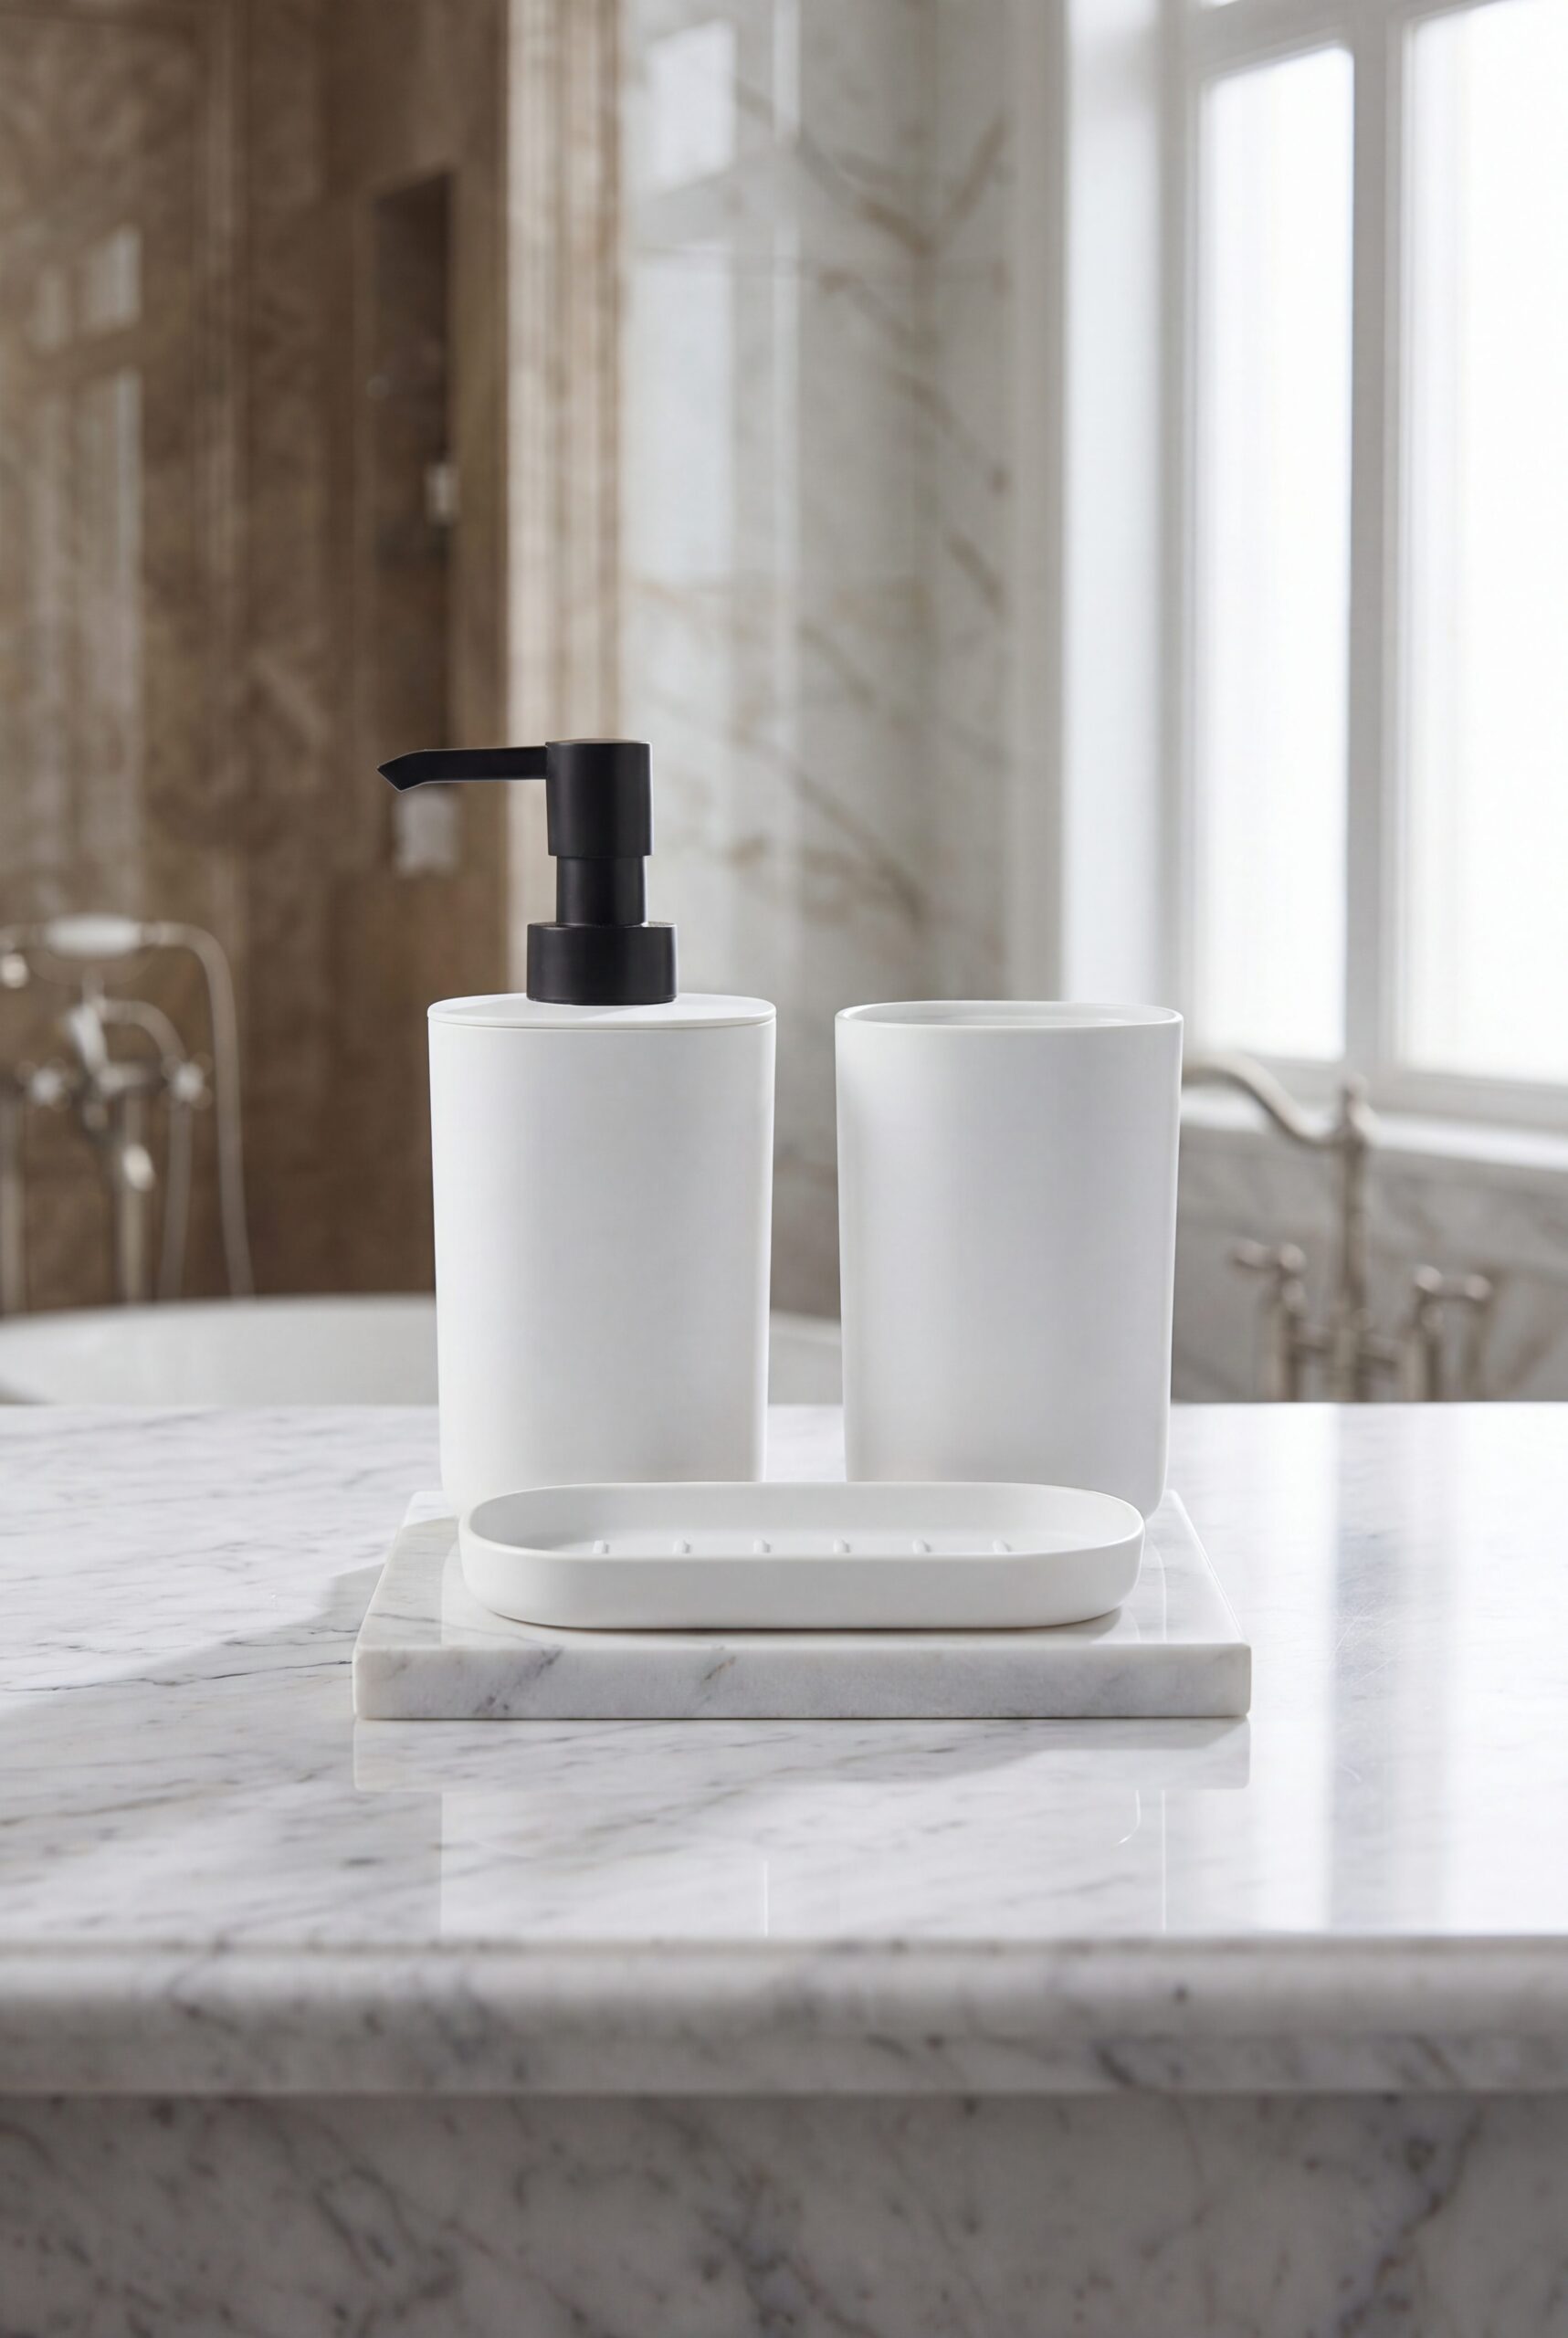
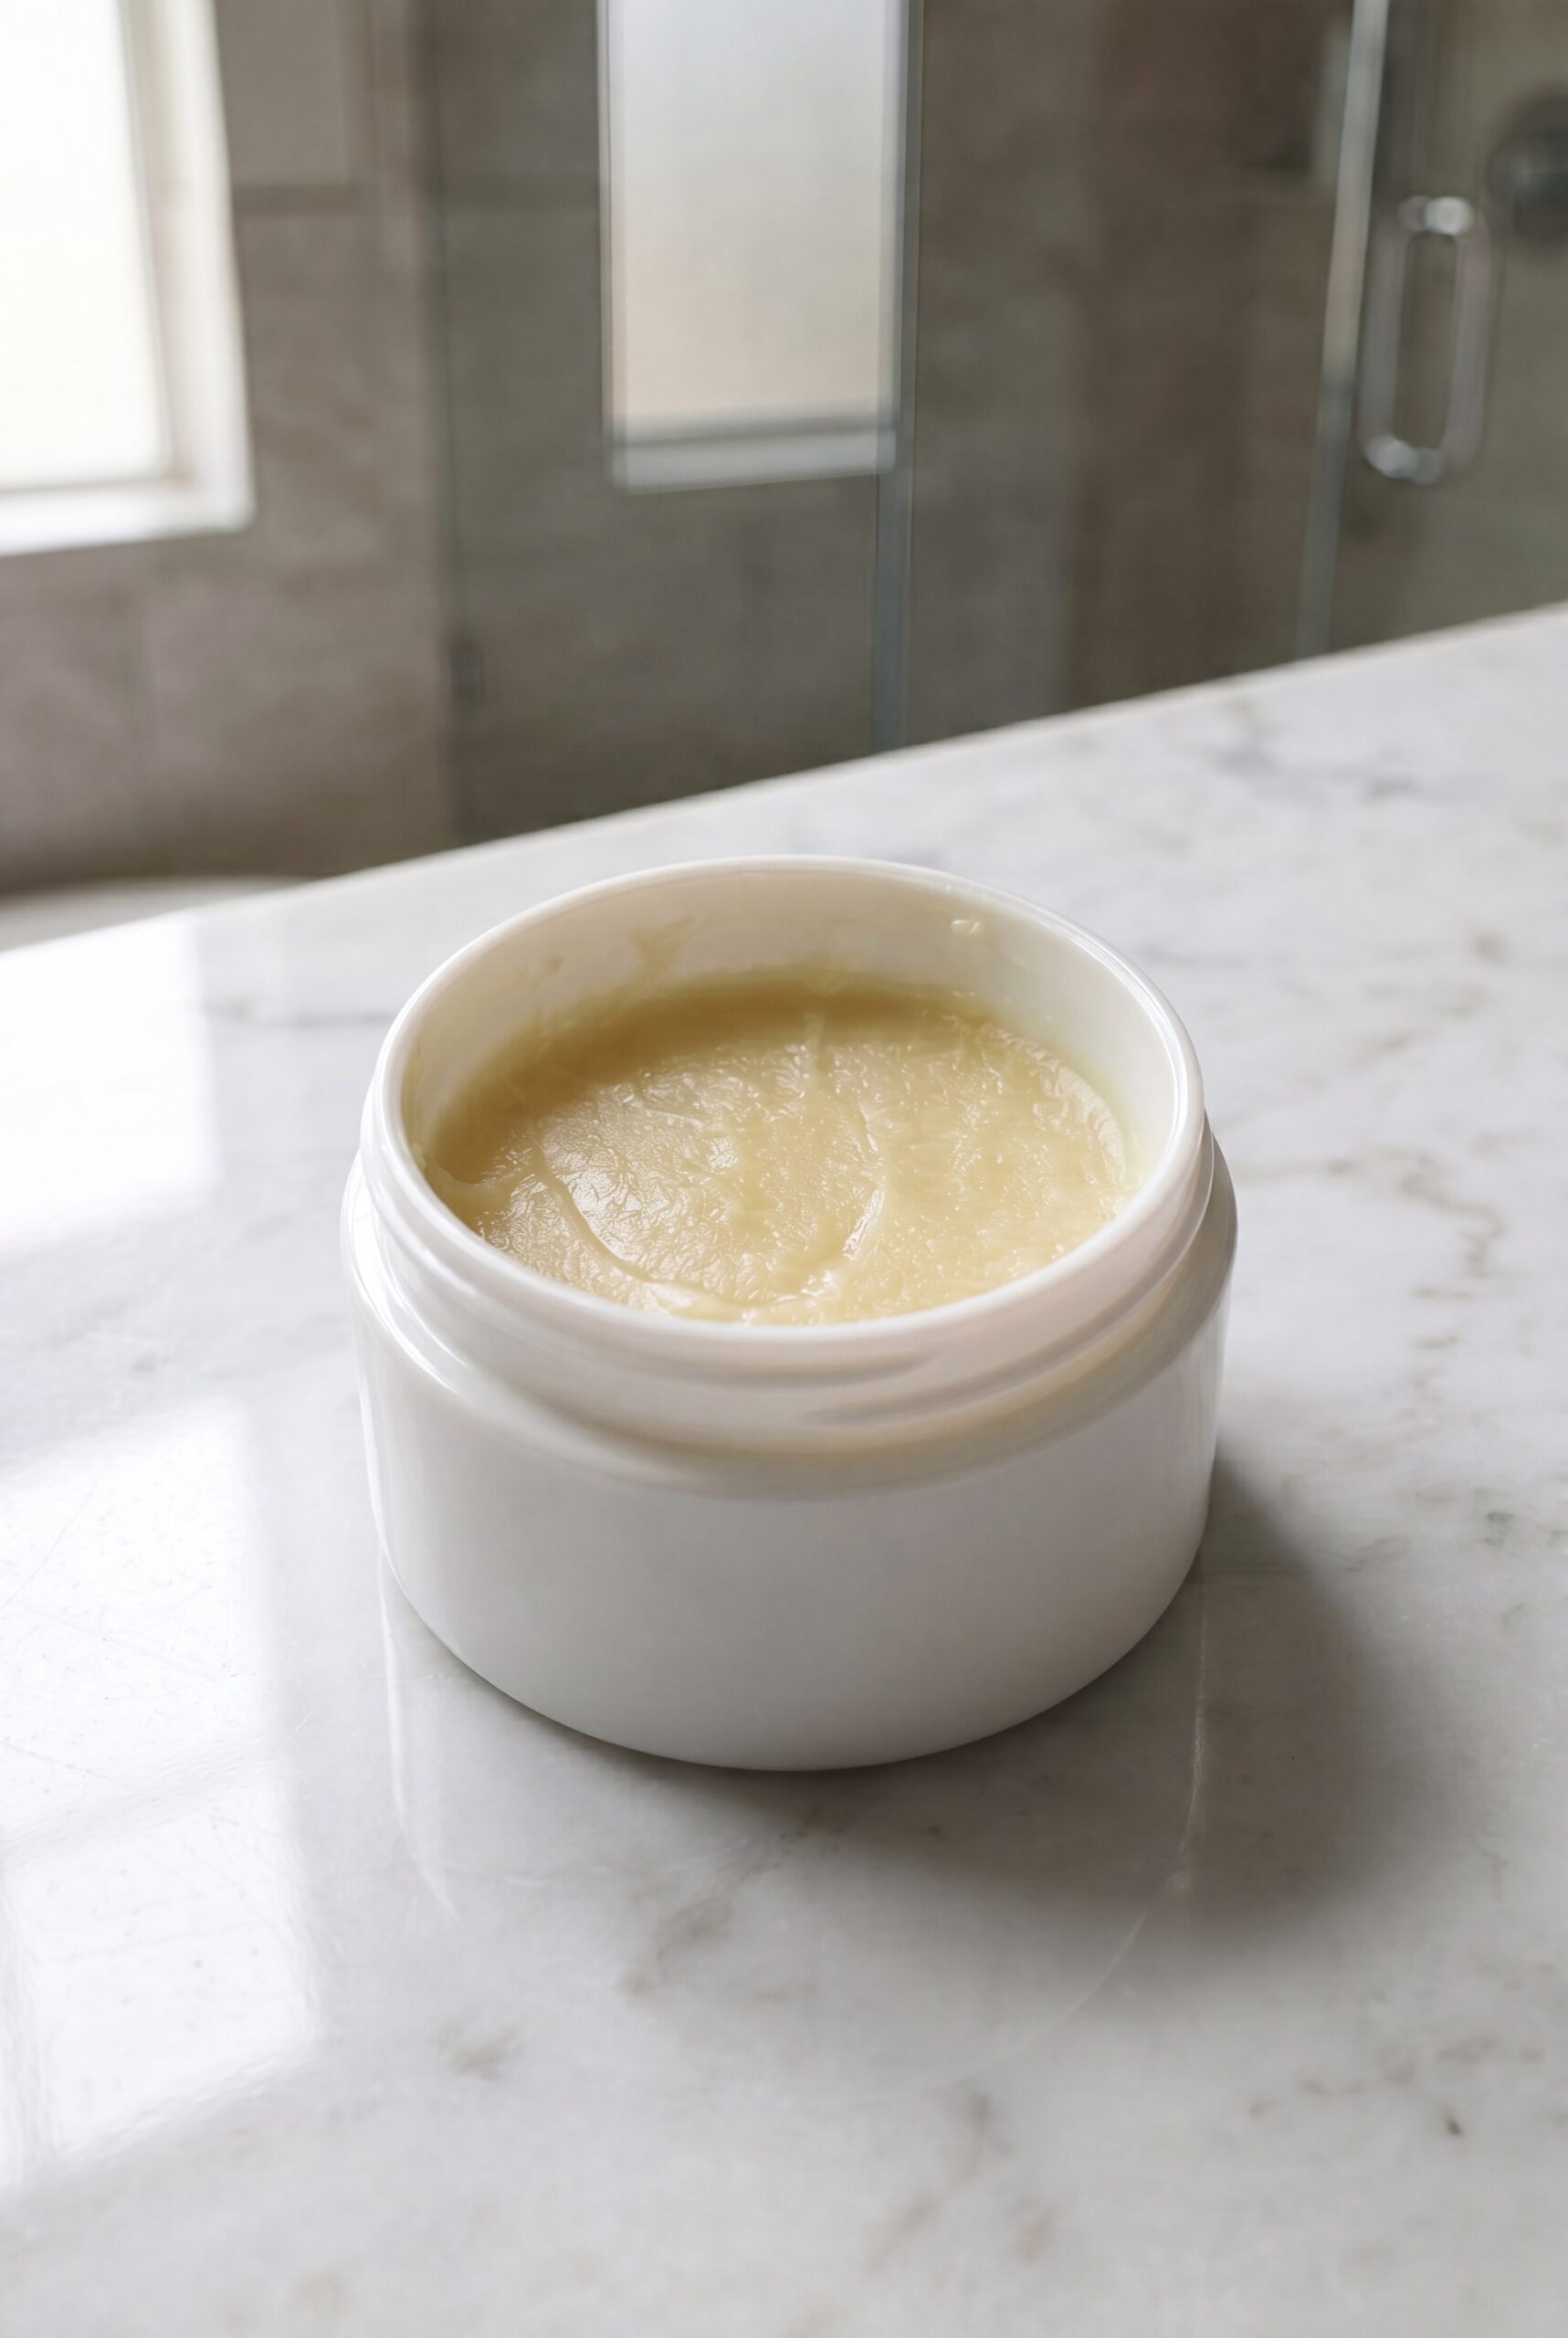
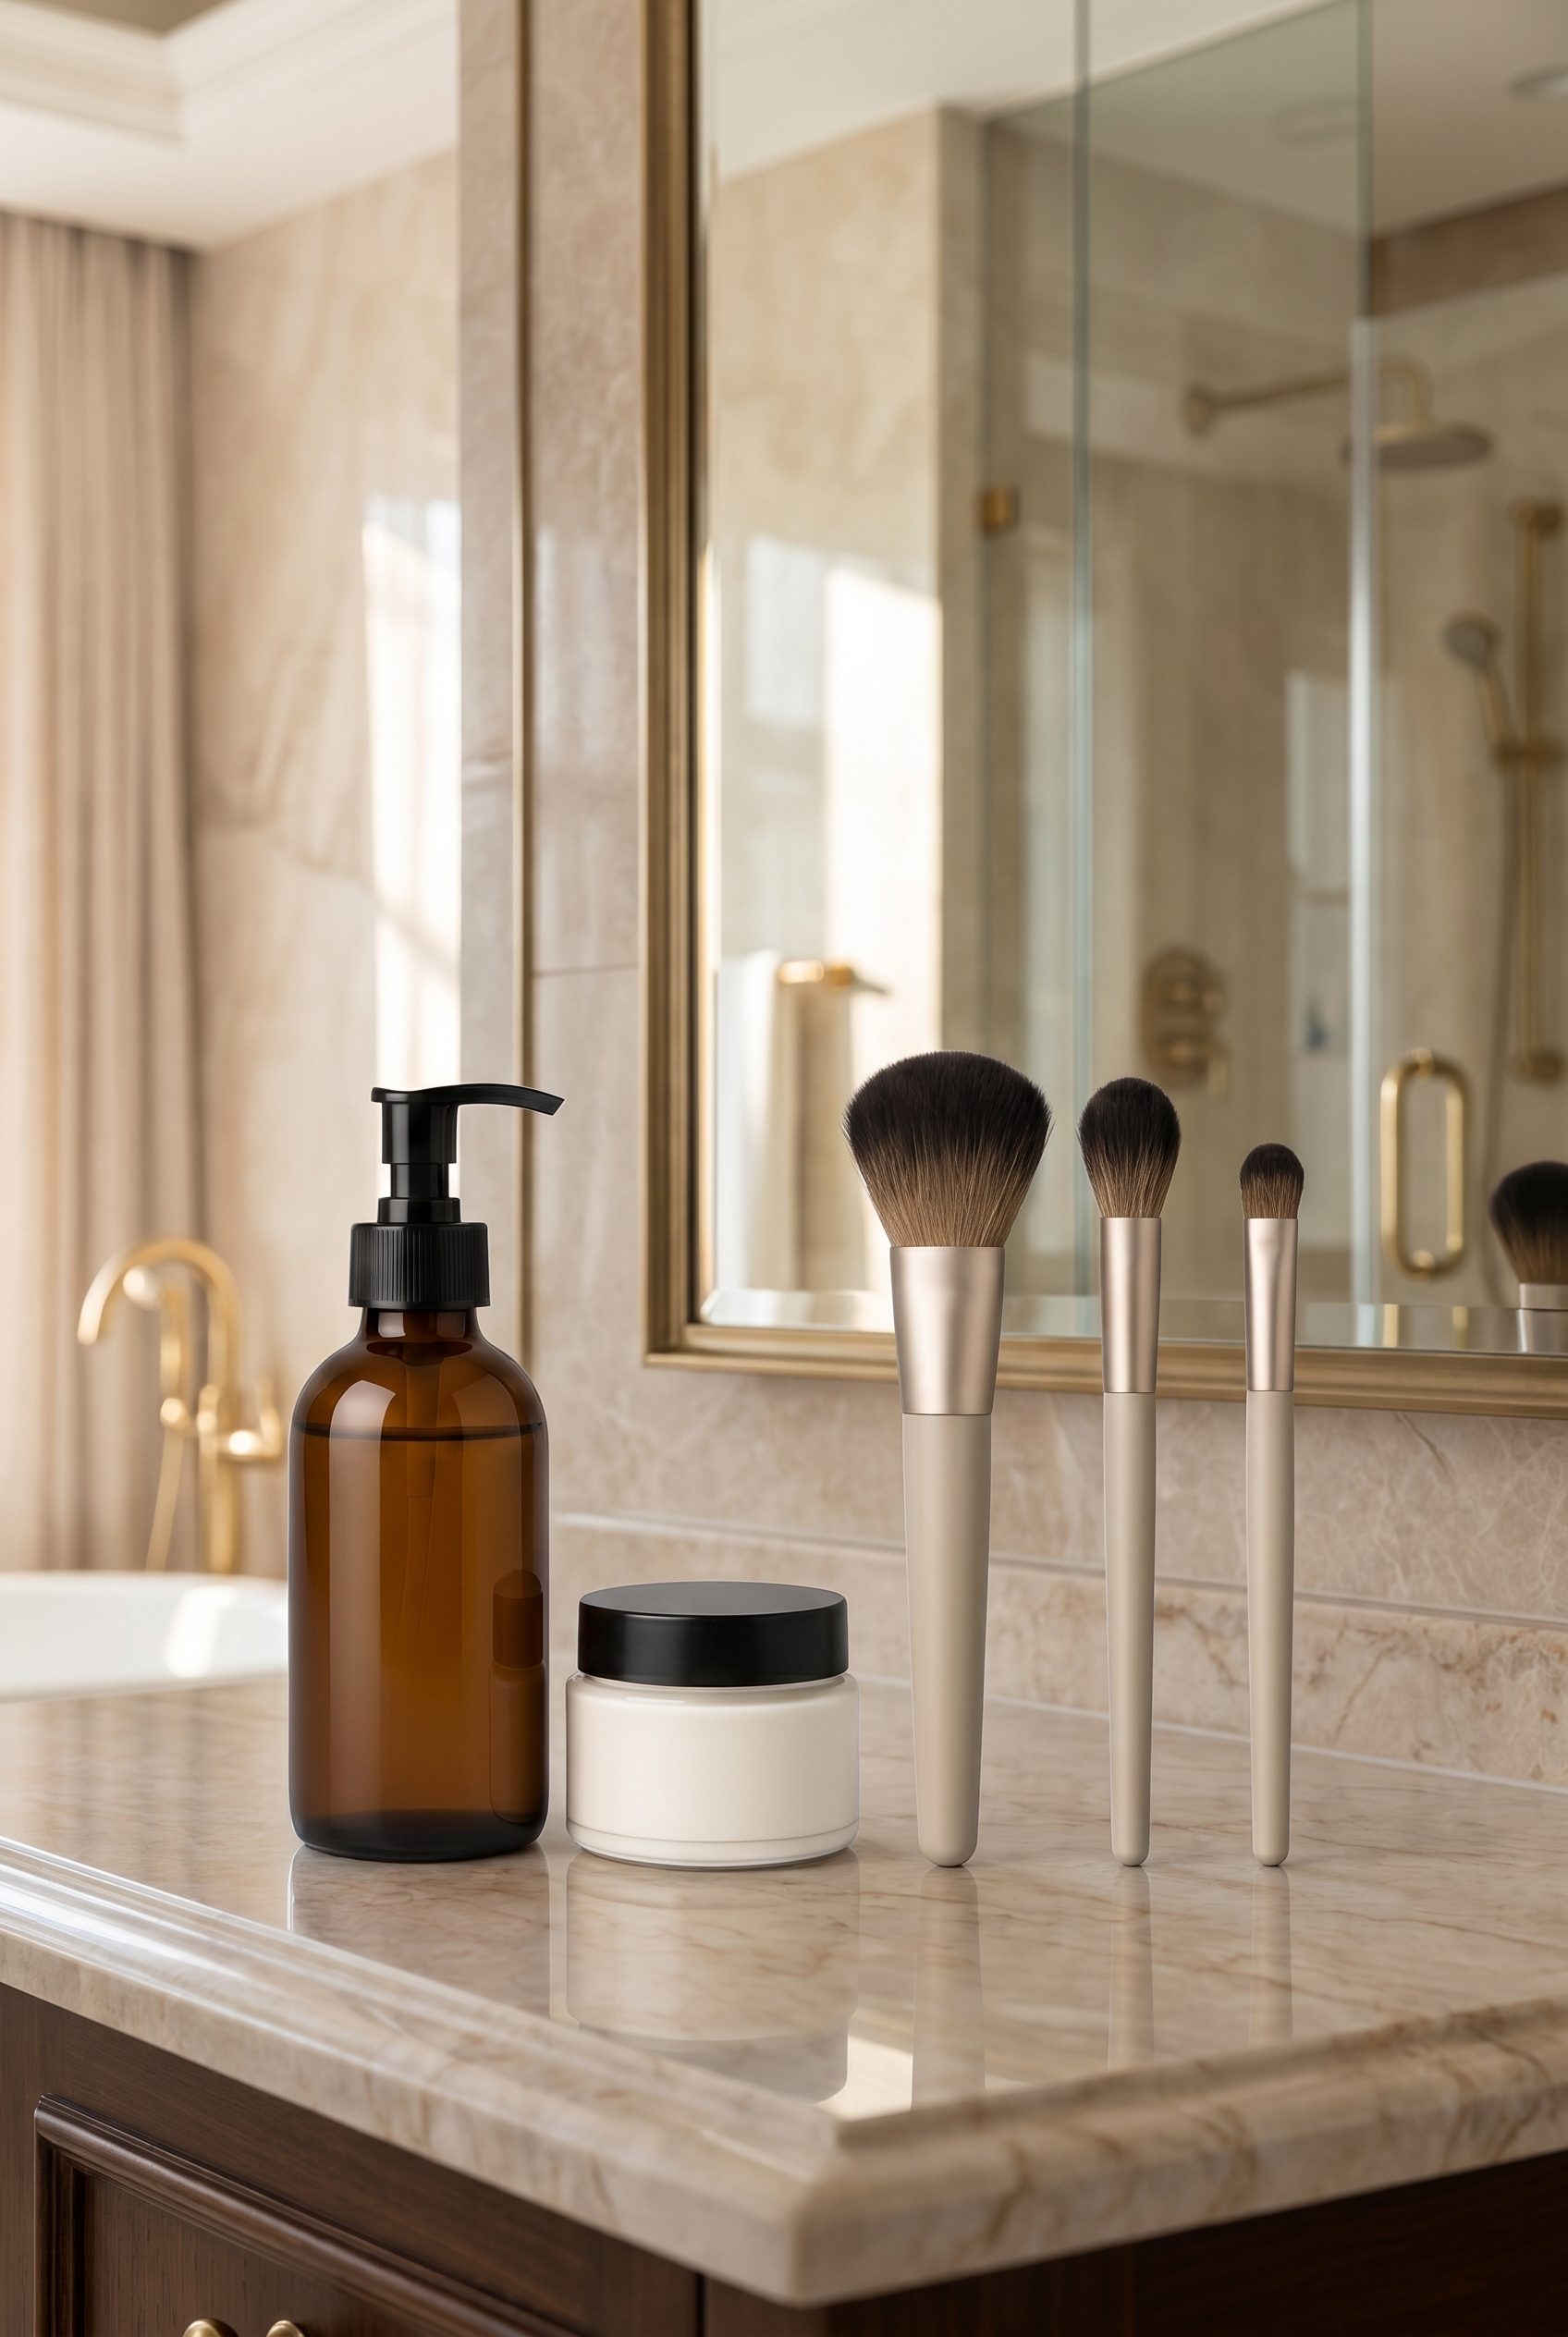
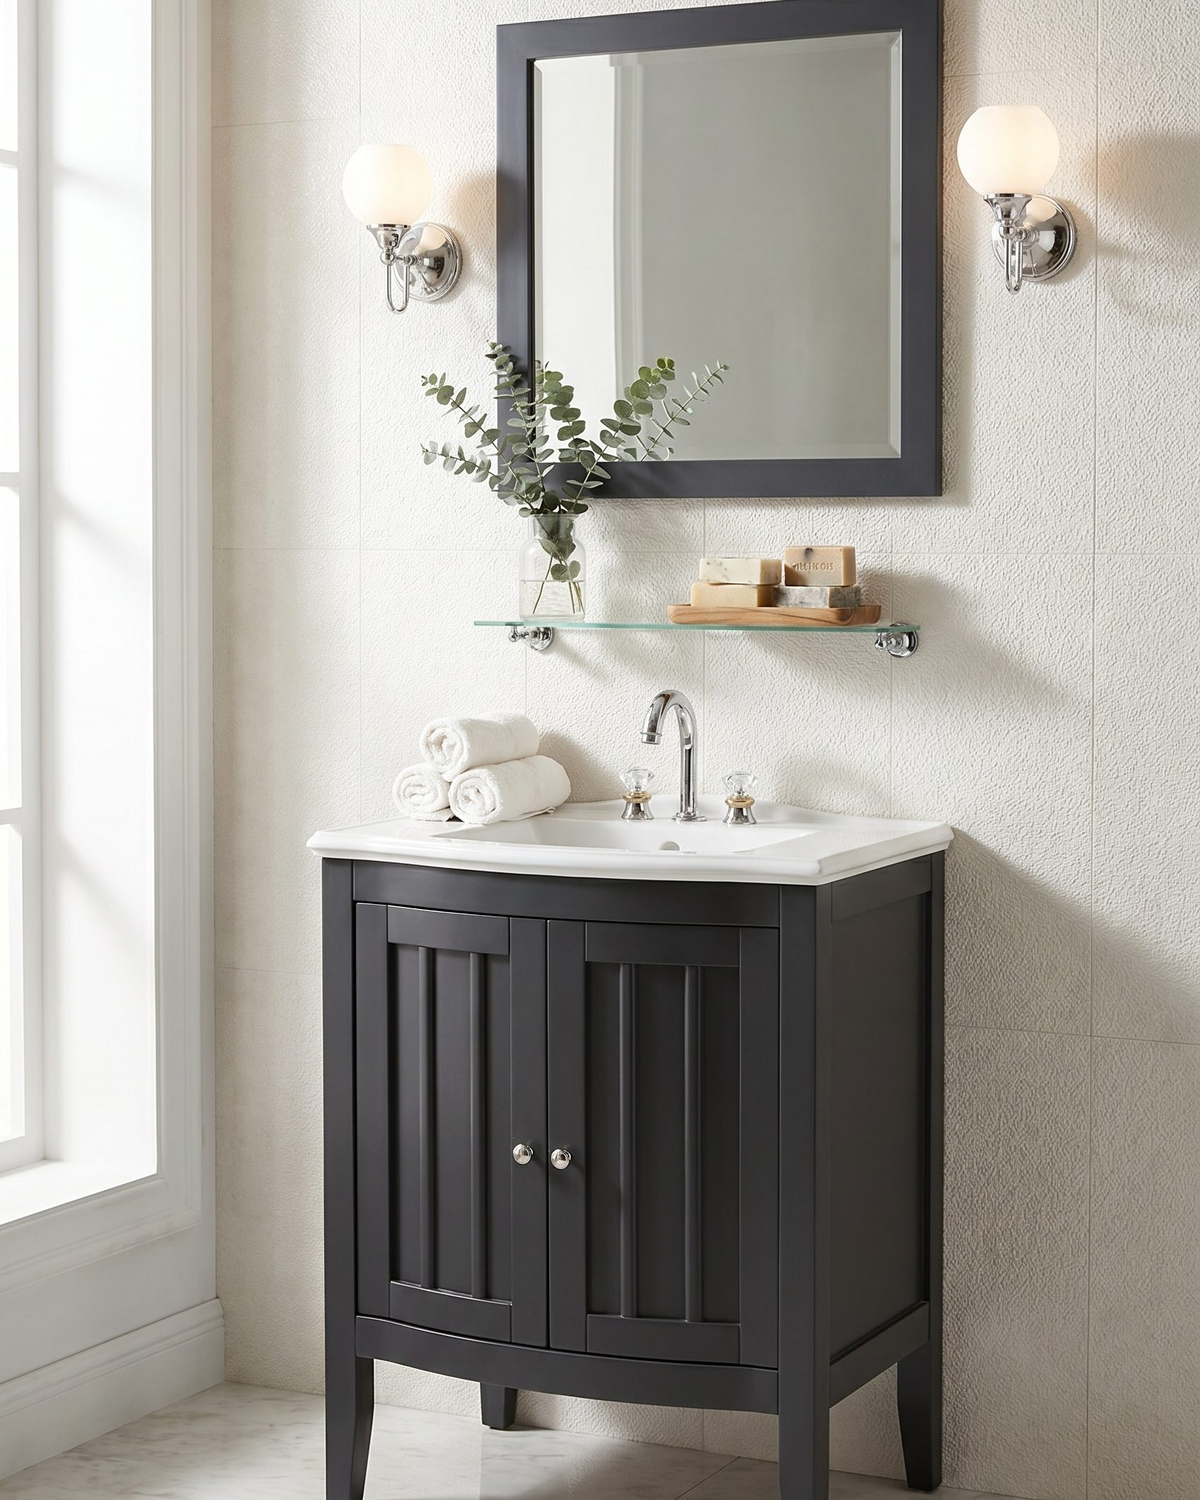
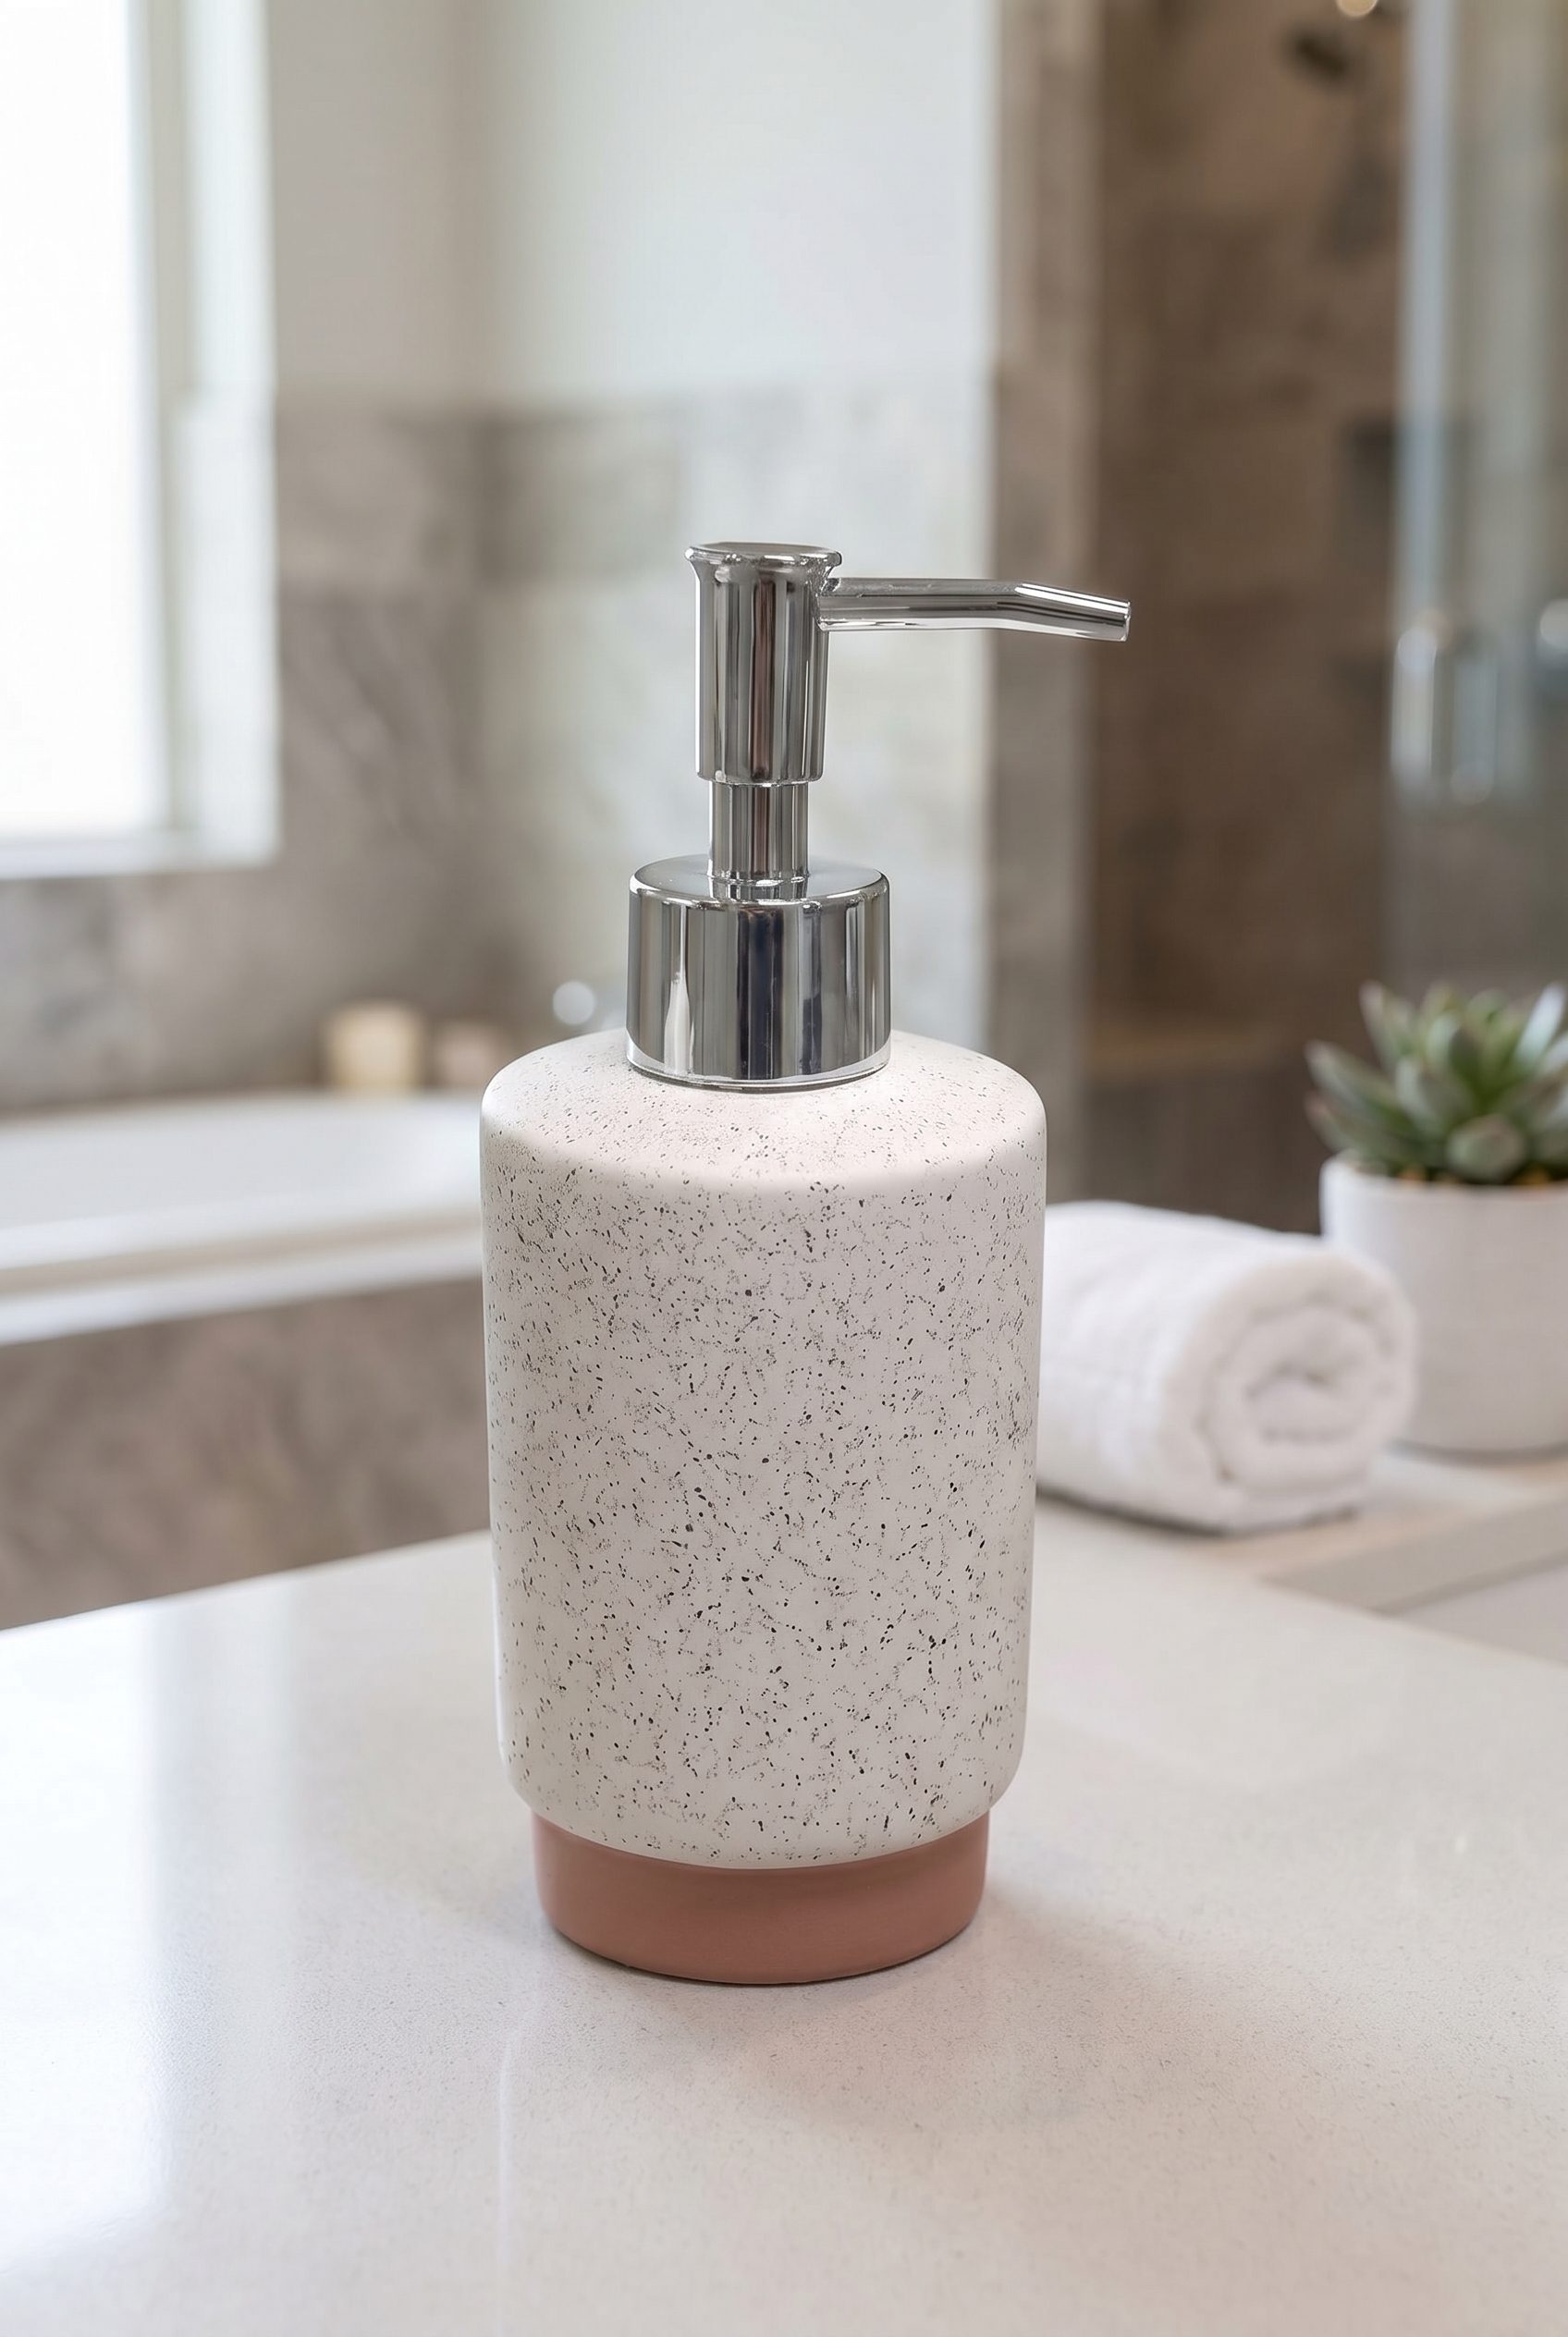
Use these visuals as direction for product pages, catalogs, ads, and launch assets.








FAQ
WordPress Product Image Workflow FAQs
Decide whether to create images inside WooCommerce or in the Fotogenic web app, which source photo to use, and what to review before replacing a live product image.
Create the next set
Test the WooCommerce workflow on one product first.
Use this resource as the planning layer, then generate product photos, catalog visuals, ad creatives, and campaign assets in Fotogenic AI.
- Product photos
- Ads
- Catalogs